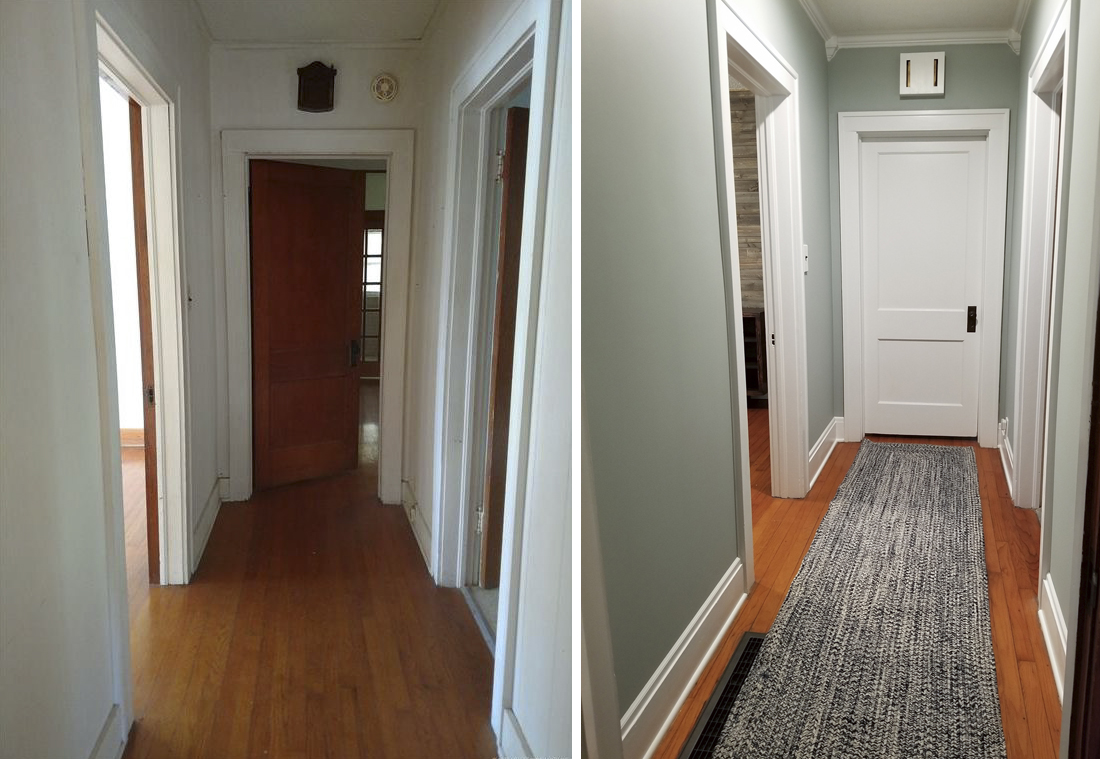
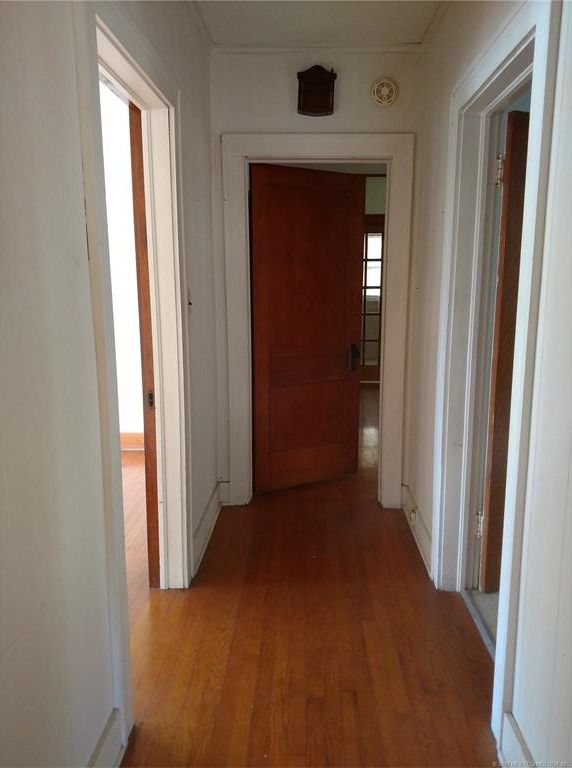
As with all the rooms, the hall and dining room are worn out and need an overhaul. The hallway between the bedrooms is short and only has a couple of small obstacles. There is an old heating metal grate on the floor and the doorbell cover is some kind of plastic imitation coo-coo clock contraption (hard to believe there was ever a time when that was in style).
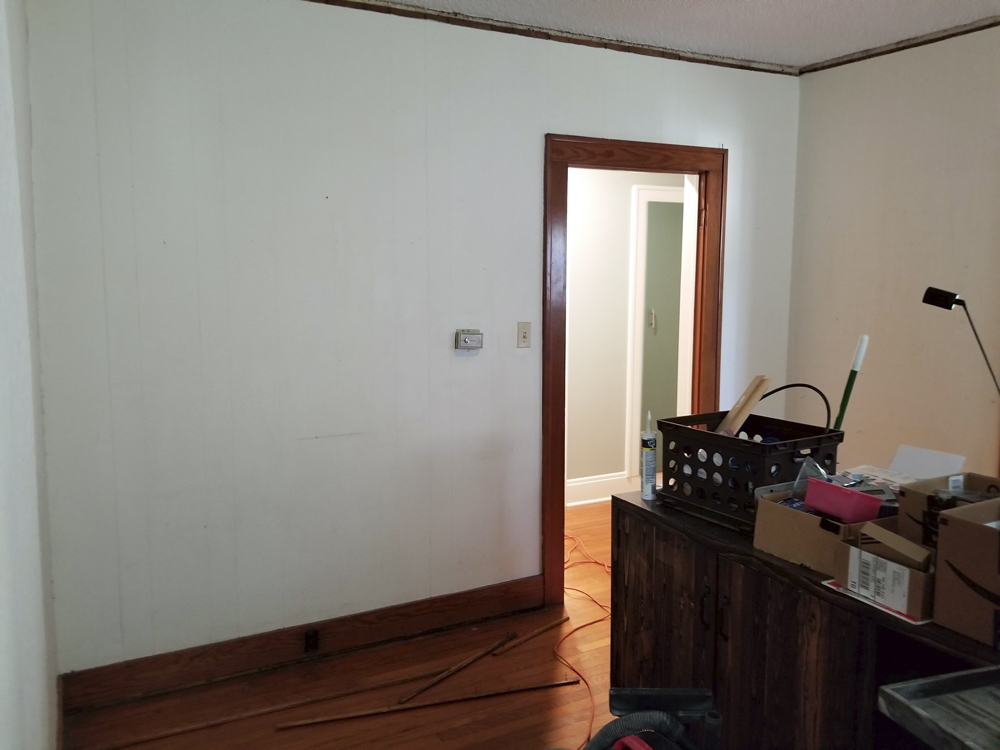
The dining room has a few challenges as well. On the wall facing the kitchen, there is some type of thick vinyl covering and the paneling is in pretty bad shape. On the window wall, there are two layers of paneling although it should not be too much of an issue.
What I have to work with:
Worn out, drab and dirty paint. Paneling that is in pretty bad shape and metal heating floor grates.
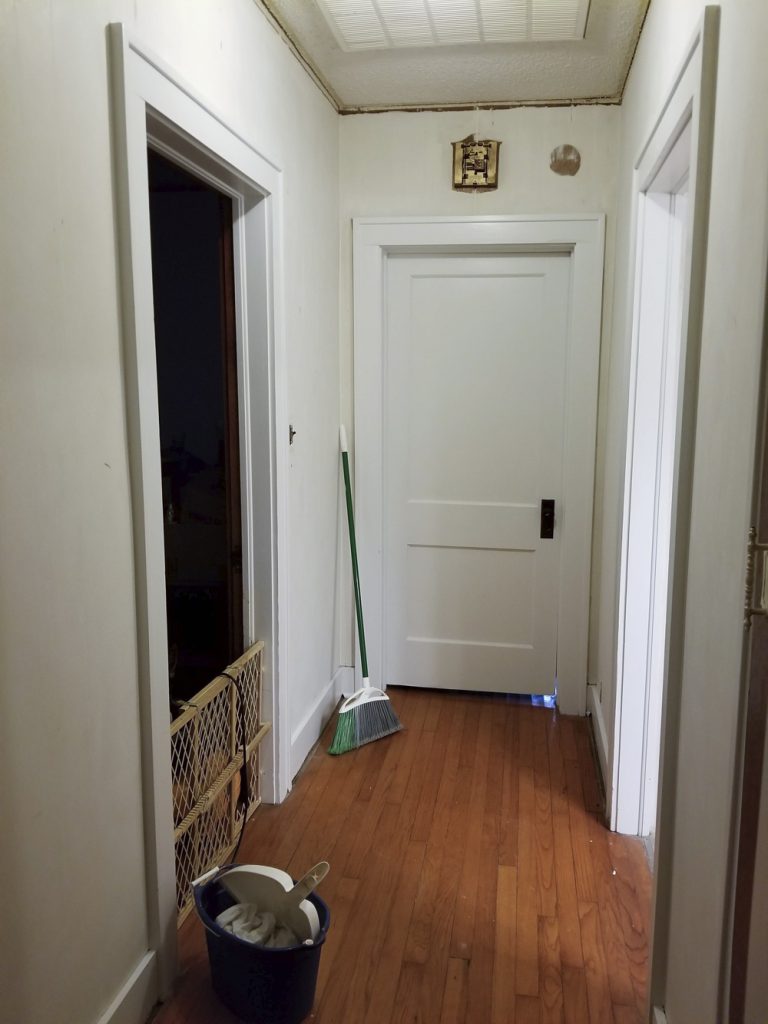
Hallway preparation begins with removing all the old crown molding and quarter round and cleaning the floor around the baseboards. Note the old plastic doorbell cover. I’m going to have to custom-build something to replace that.
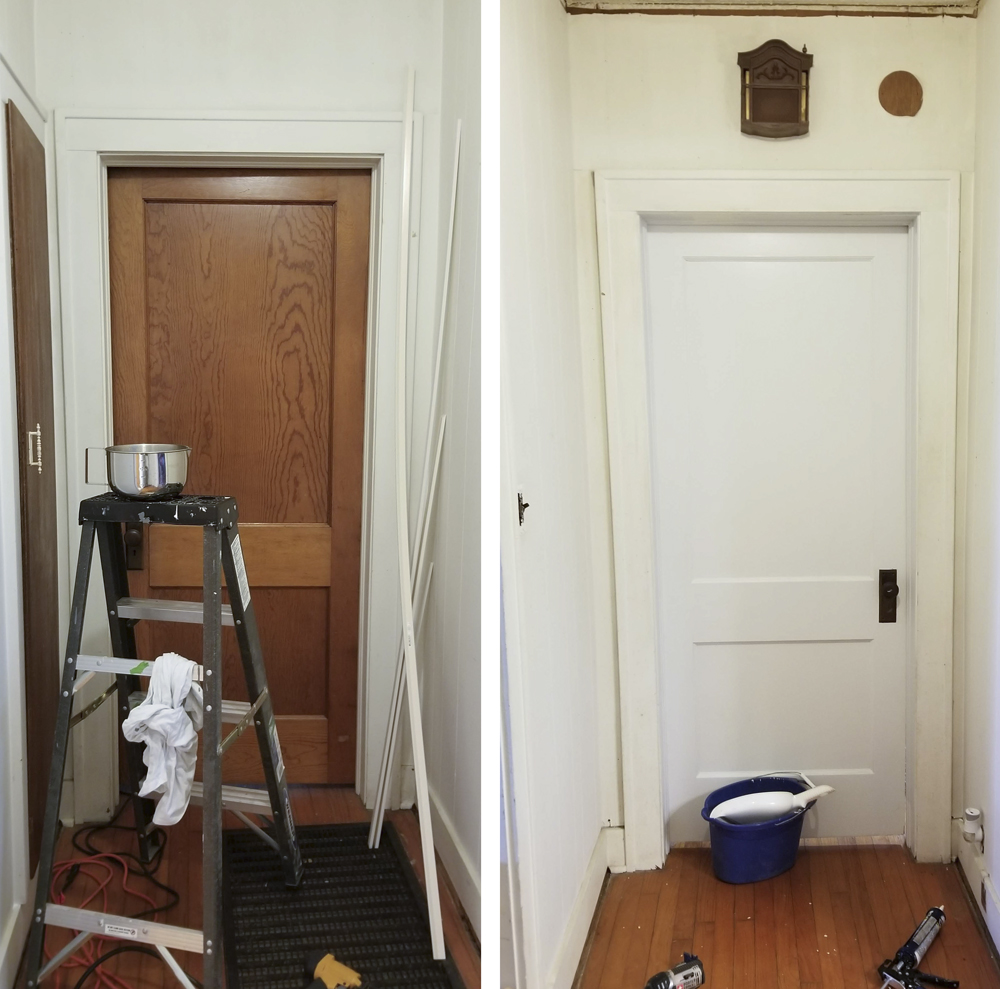
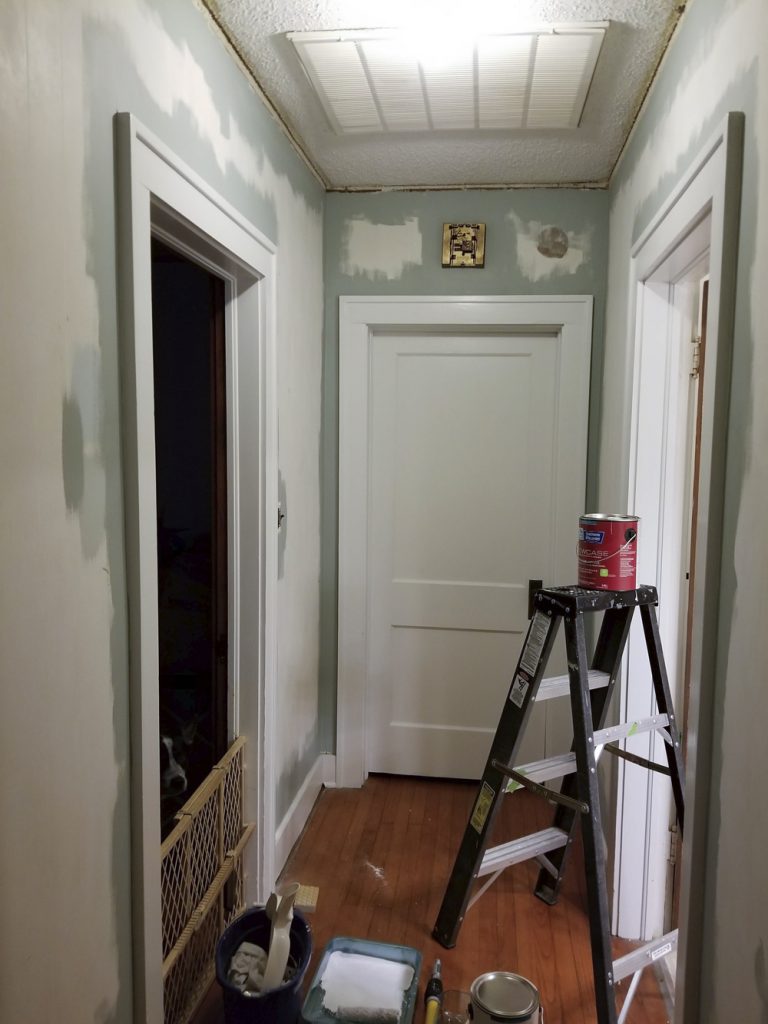
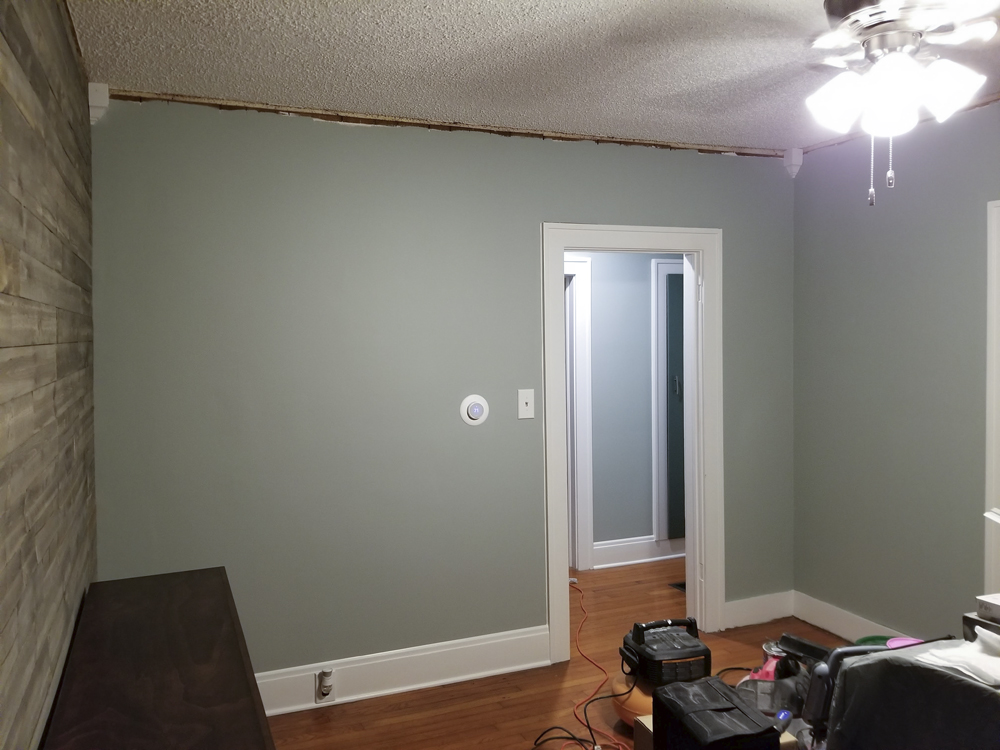
The next task after completing the demo work and clean-up was to paint the doors, trim, and ceiling and prep and paint the panel walls.
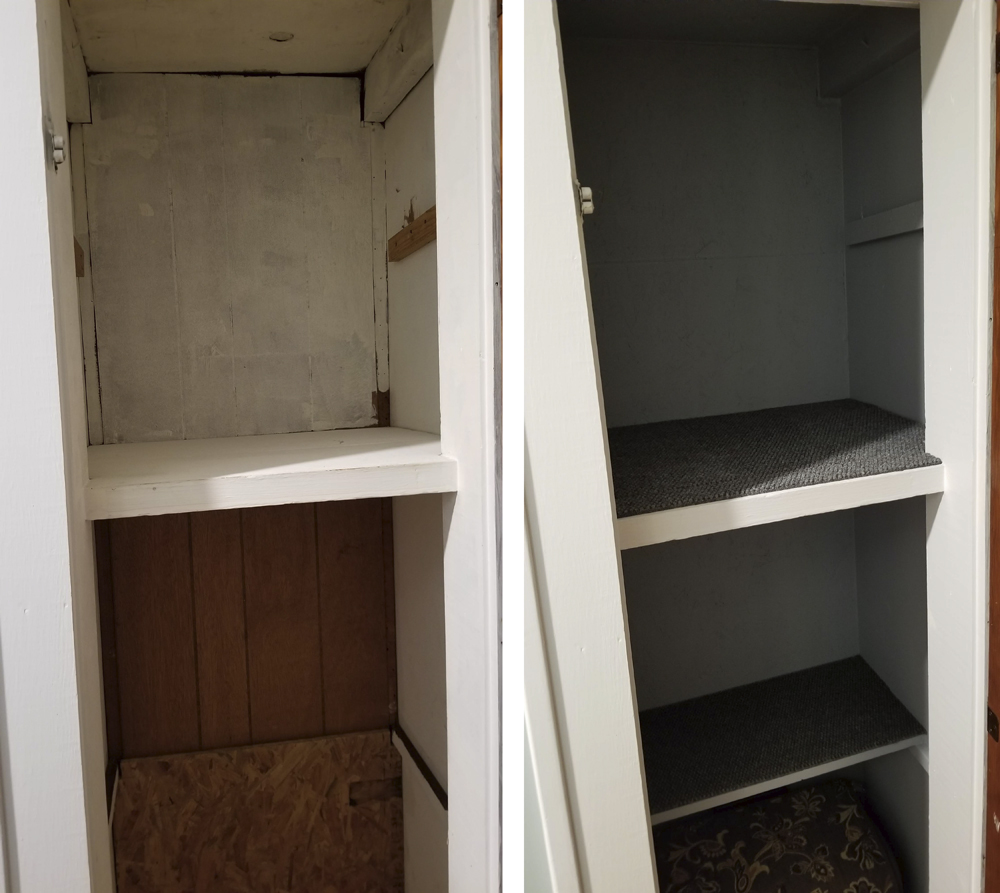
As I have noted previously the closets are all in need of work. This hallway closet was put in sometime after the house was built by walling off a section of the bedroom closet without much care of what it looked like. Here I have reinforced the back wall that was made from a sheet of wood paneling. With a coat of fresh paint, shelf covering and caulking all the seams it’s now a usable closet.
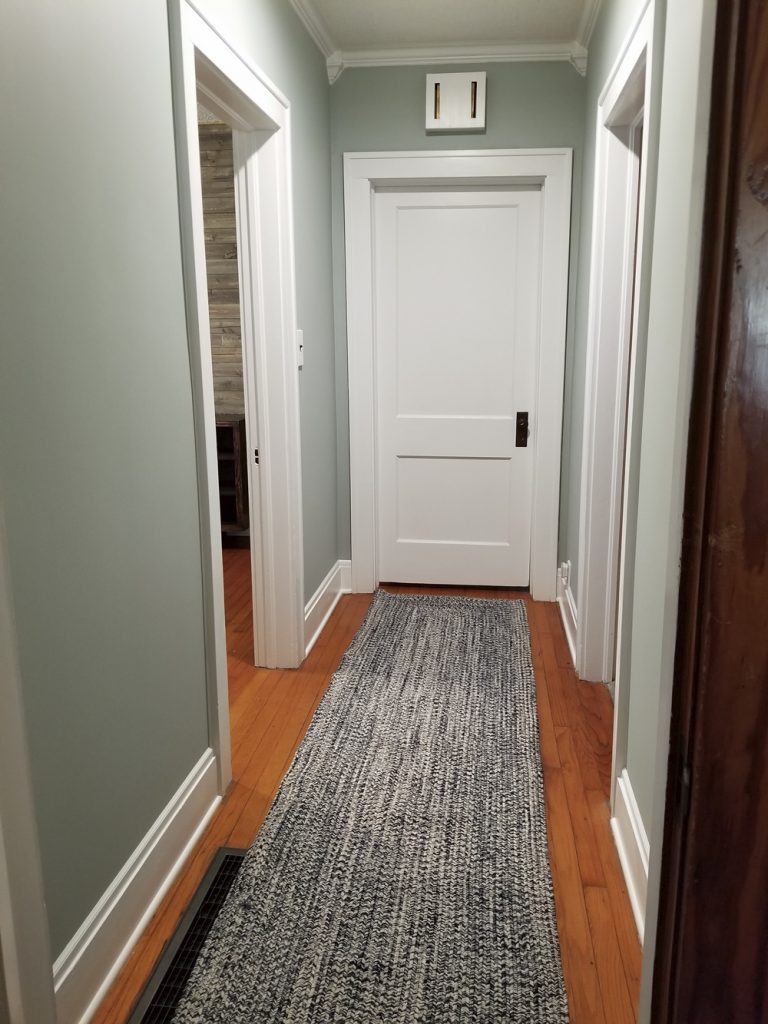
With all the trim work, paint, new low profile LED ceiling light, and rug the hallway is complete.
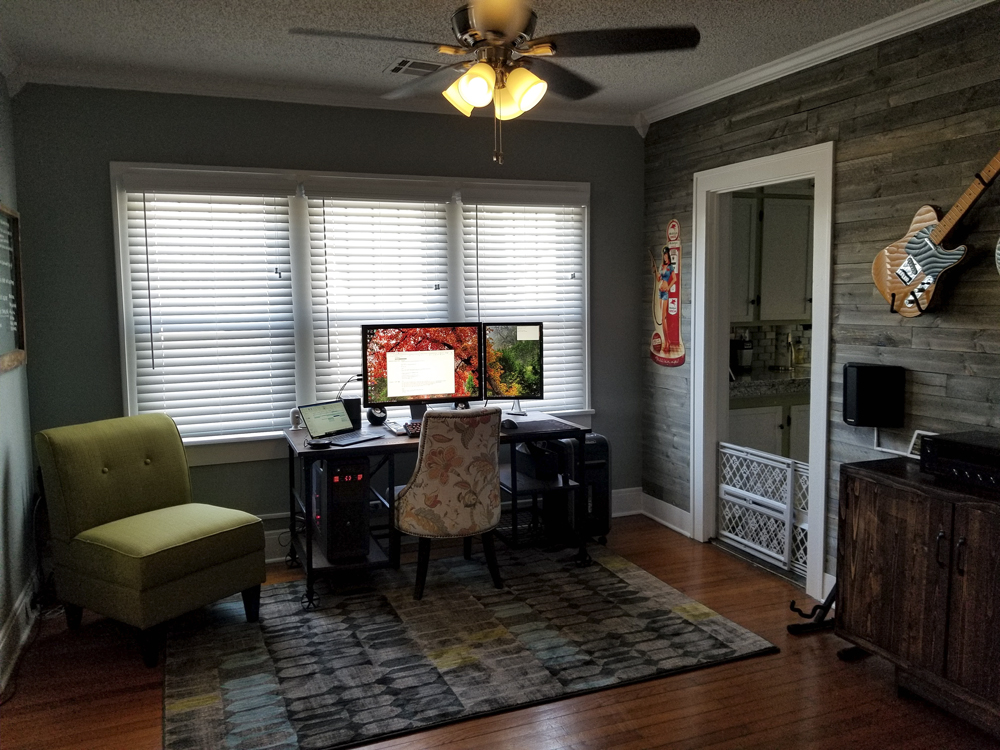
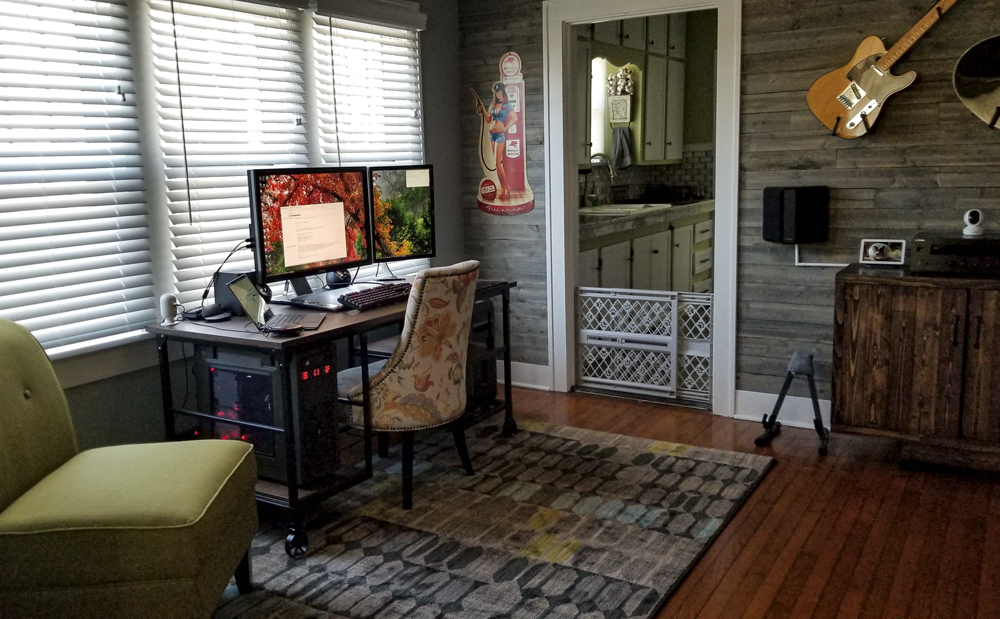
Time to start the dining room rehab. This room is going to be my office since I decided to turn the second bedroom into a guest bedroom. It will progress as the others have by removing all the old trim, prepping the walls and painting.
The trim removal and wood panel preparation was pretty straight forward and getting easier as I do each room.
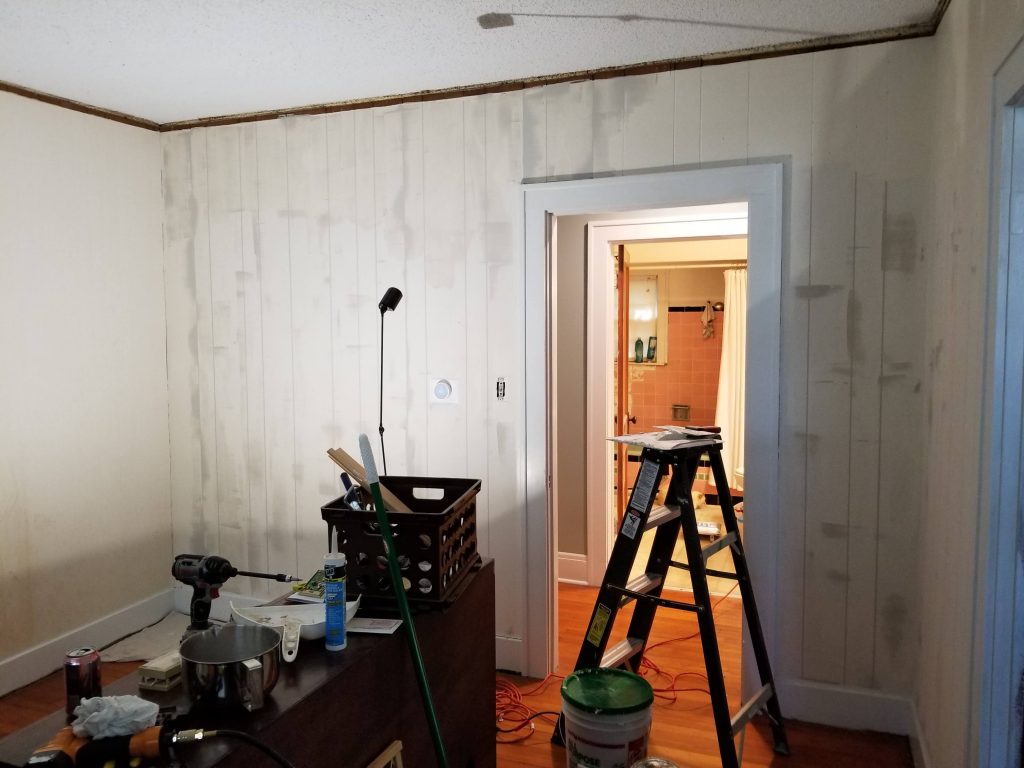
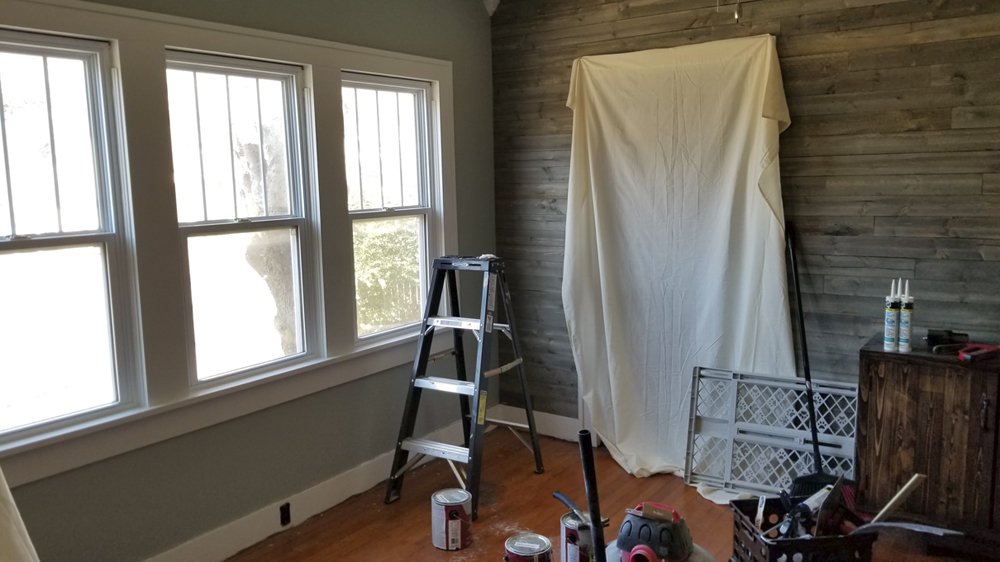
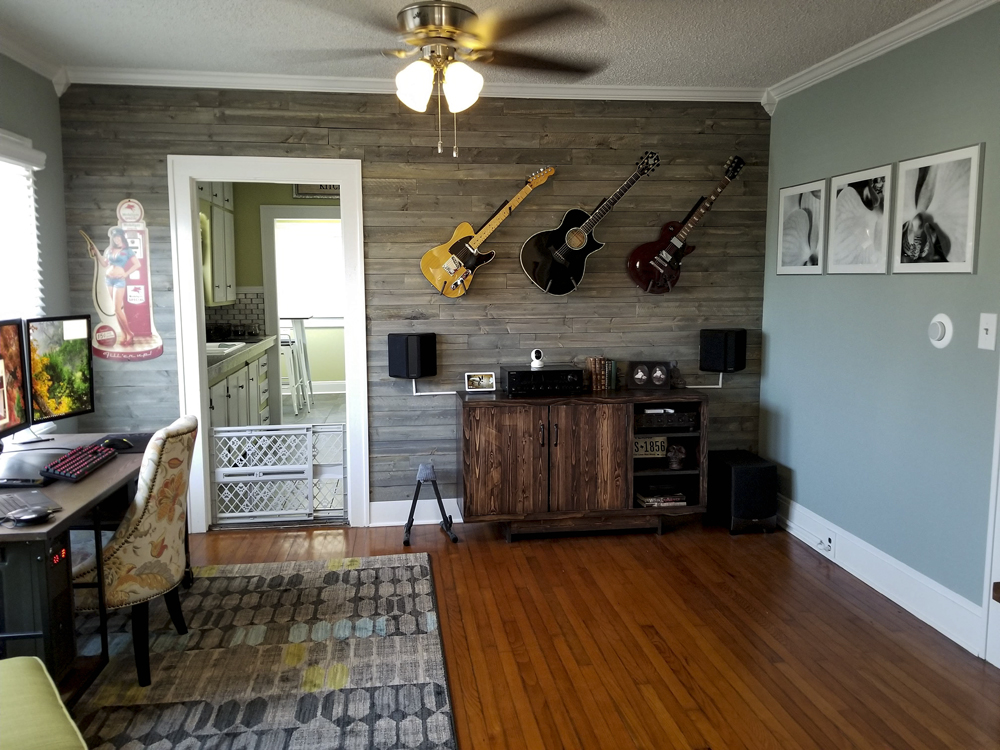
As mentioned, this room does have one wall that has some type of vinyl covering over the wood paneling. This stuff is glued on and the paneling is not viable for refinishing. The wall is, however, an excellent candidate for an accent wall. After a little research, I decided on some relatively inexpensive faux distressed gray wallboards. These will go well with the overall aesthetic of the house. I also purchased a nest thermostat. The old one was stuck on 65 degrees so the house was either really warm or really cold and the electric bill was ridiculous.
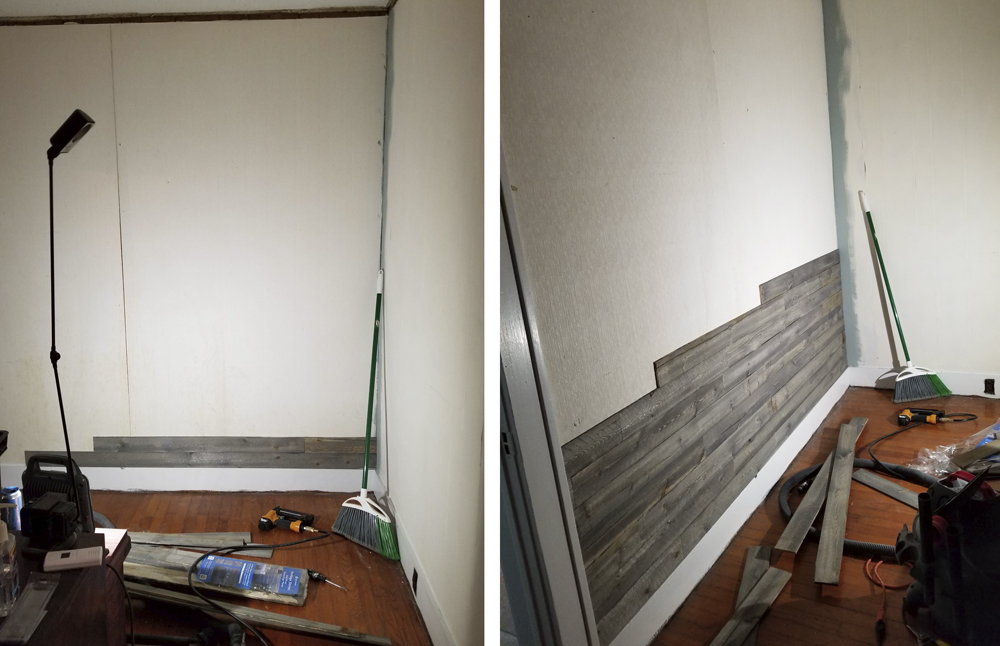
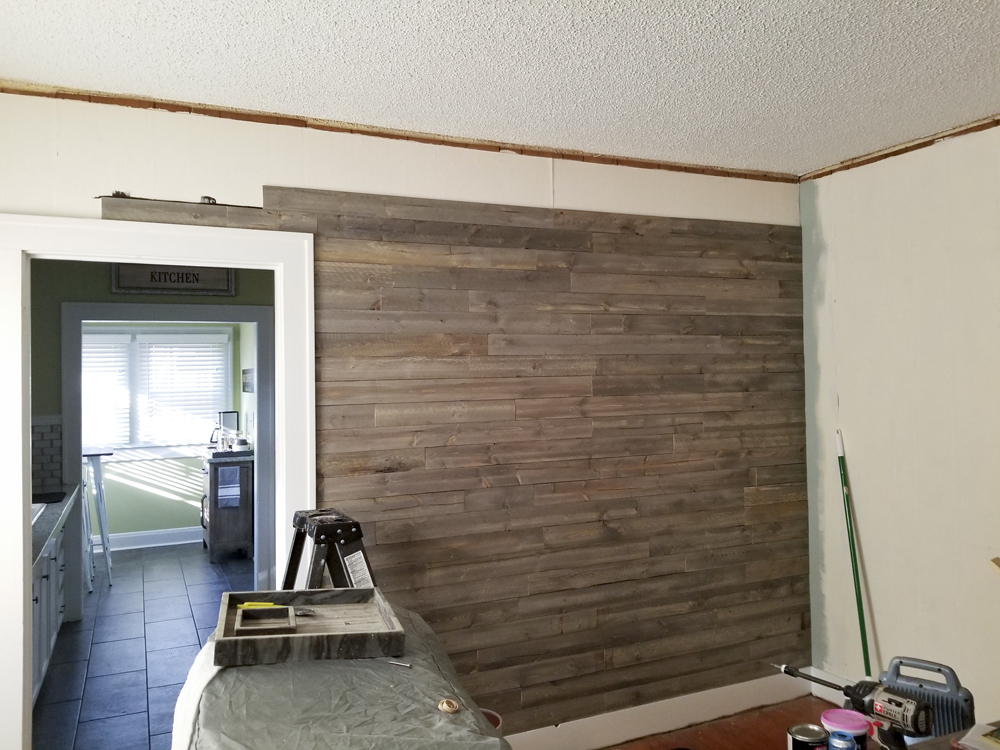
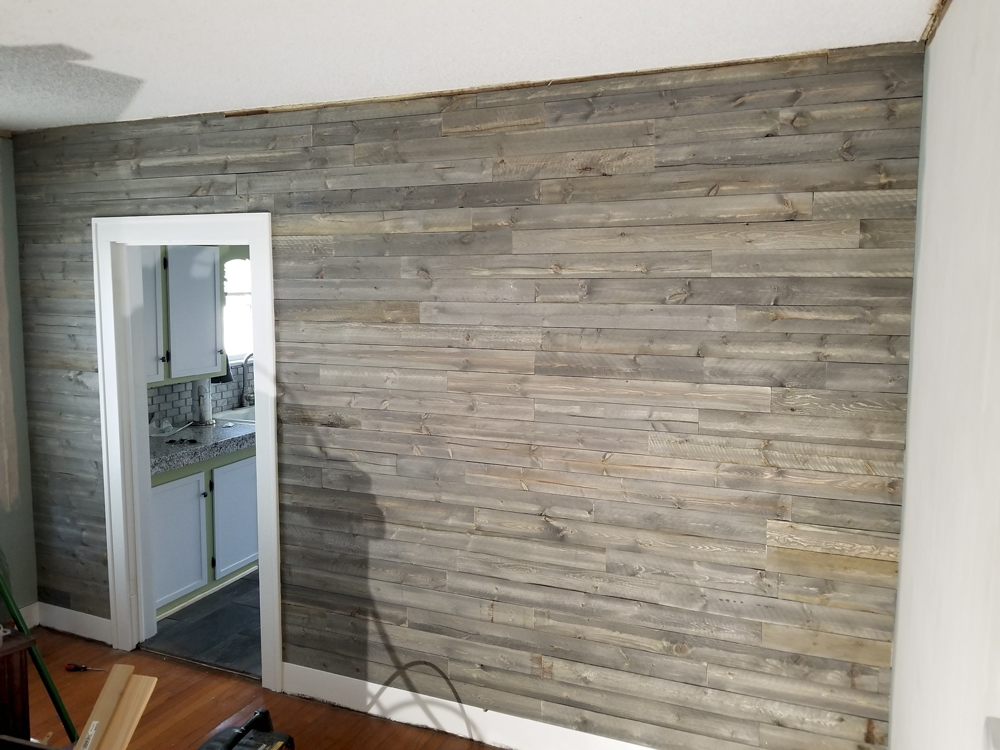
I really like how the wall turned out and this was a very economical solution that cost about $130.00 with an off the shelf product from Lowes. That said, these are not perfect boards and they tend to be uneven along the edges. I noticed this with the first couple of rows that the white wall behind the boards would show through small gaps when the lights were on. To solve this I used flat black Rustoleum paint and painted about a 1/2 inch line between each row I put down.
As I began painting the paneling an issue literally popped up. Unlike the other rooms, this one has had lots of items hanging on the walls. When nails are pulled out it tends to separate the veneer from the panel board. What I found is that this causes air to get in which makes the veneer bubble up from the moisture of the paint.
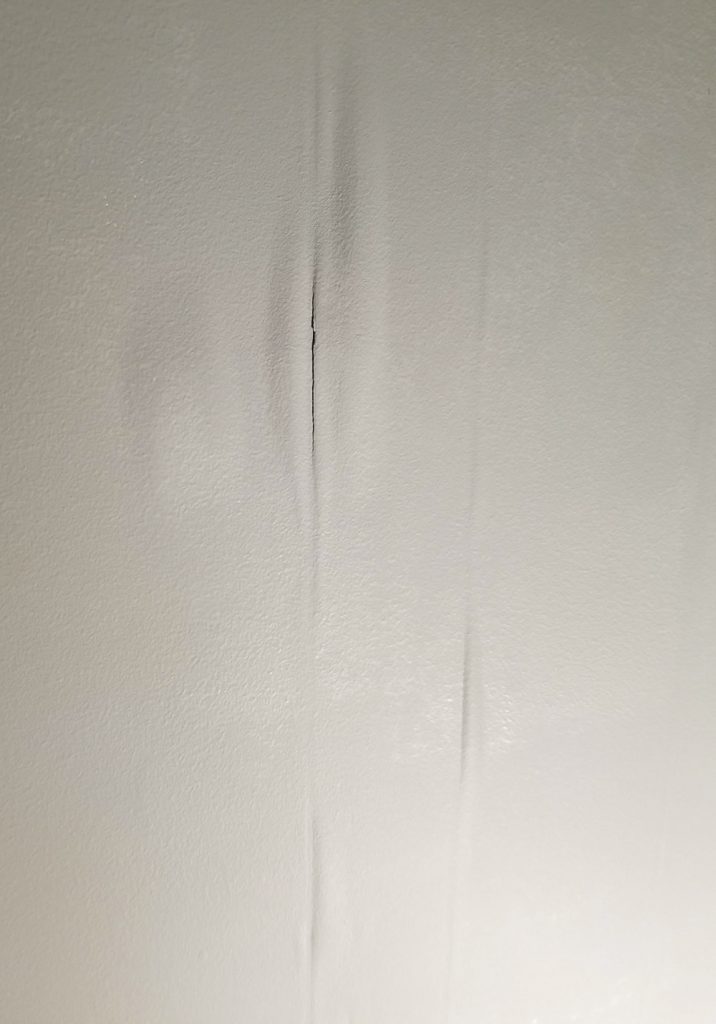
I had to get a little creative to solve this. Using a utility knife I cut around the problem area and removed the portion of veneer that pulled away from the board. Using a toothpick I put a small amount of wood glue to seal the edge where I had cut.

I then filled in the space with spackling compound, sanded smooth and repainted.
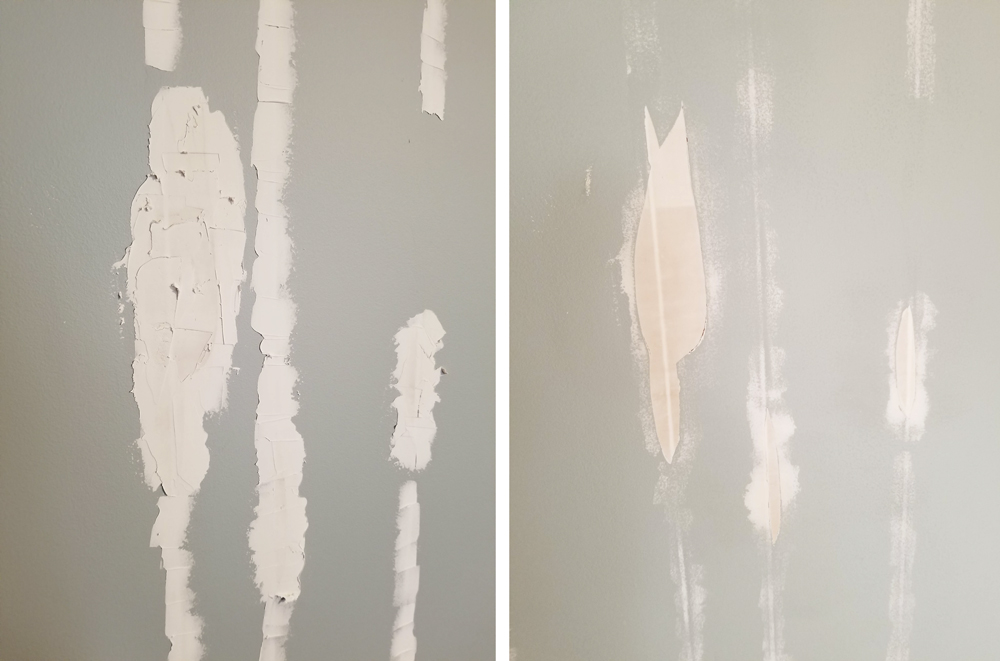
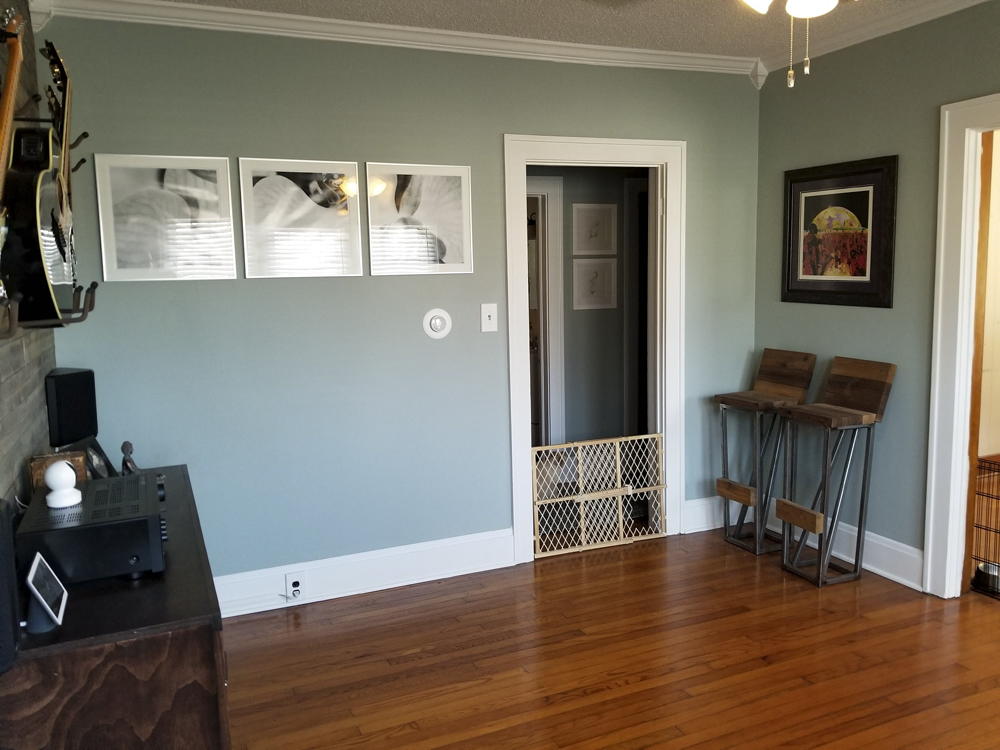
The finished process left the spots nearly undetectable. The living room will require a lot of this work. Time to finish the walls, crown molding, quarter round and install the new ceiling fan.
All that’s is to put a few hours of elbow grease into cleaning the floors and install the new blinds.
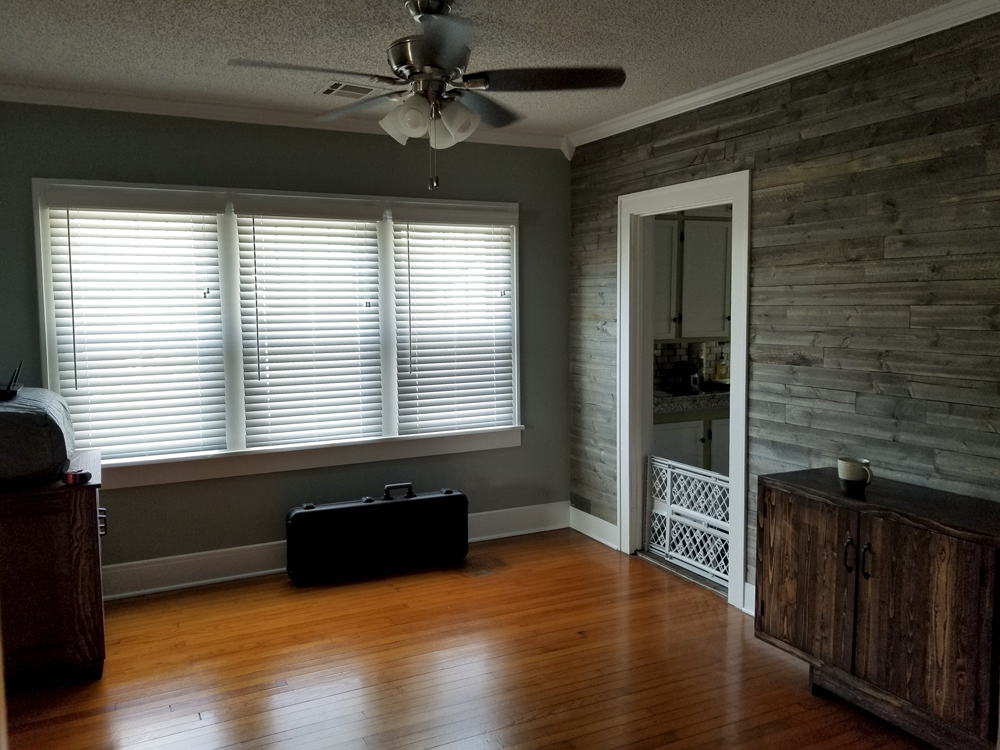
Nothing left but to add some furnishing and decore.
On to the living room.