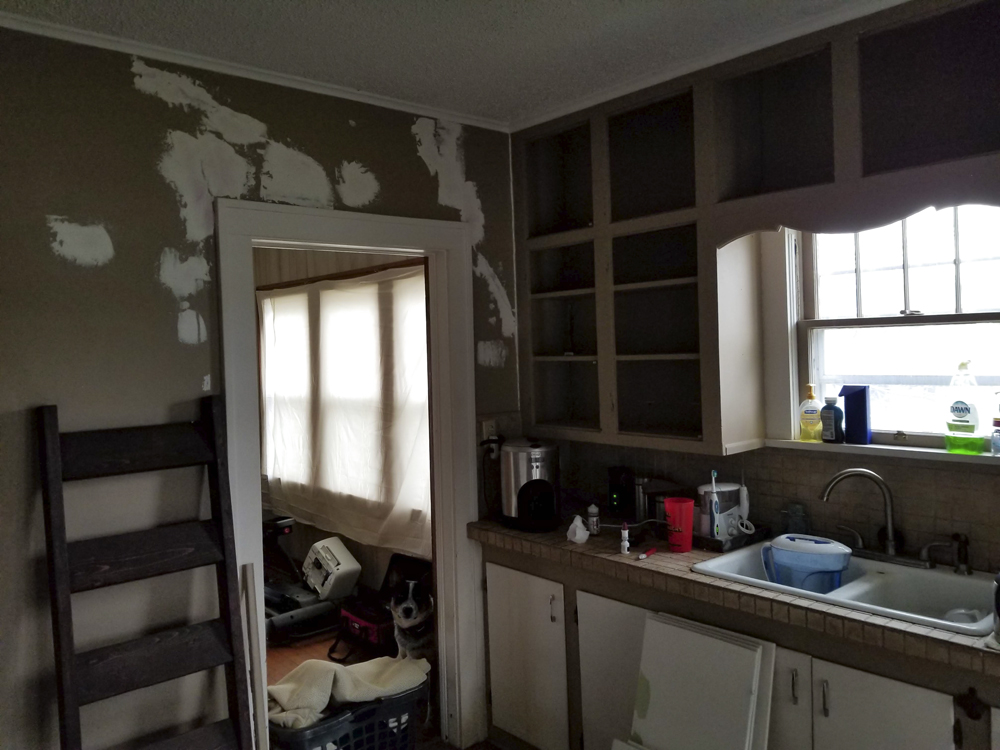
With the laundry room/mudroom just about complete, I have begun to focus my attention on the Kitchen remodel. I have been going back and forth on tearing everything out or salvaging and enhancing the cabinets and countertops. The cabinets for this small kitchen are custom built which is quite evident once you open them. After some measuring, it was apparent that standard cabinets will not fit and to replace them is not a cost-effective solution. My game plan is to repair and clean up the inside of the cabinets and then repair and enhance all the doors with a shaker style trim and fresh paint. I don’t love the countertops, but they are the one thing in the kitchen that is actually in good condition. The plan here is to clean the tile and grout and then properly seal it. I am going to modify and put in a single basin farmhouse sink and possibly tear out the cabinets above the window to open it up a little. On the other side with the shelves, I am going to tear out and redo the shelving and redo the small cabinet section with a butcher block countertop. Along with new flooring, light fixtures, paint and appliances it should end up with a nice farmhouse style update.
Spare Room Remodel: This Old House: 1945 Craftsmen Style Remodel – Spare Room
Laundry/Mud Room Remodel: This Old House: 1945 Craftsmen Style Remodel – Laundry/Mudroom
Kitchen Remodel: This Old House: 1945 Craftsmen Style Remodel – Kitchen
What I have to work with.
Although not in terrible shape the kitchen is worn out and drab. One plus here is that the breakfast nook and much of the kitchen walls have been upgraded with drywall. The joints were not done well and will require some repair but still less work than doing from scratch.
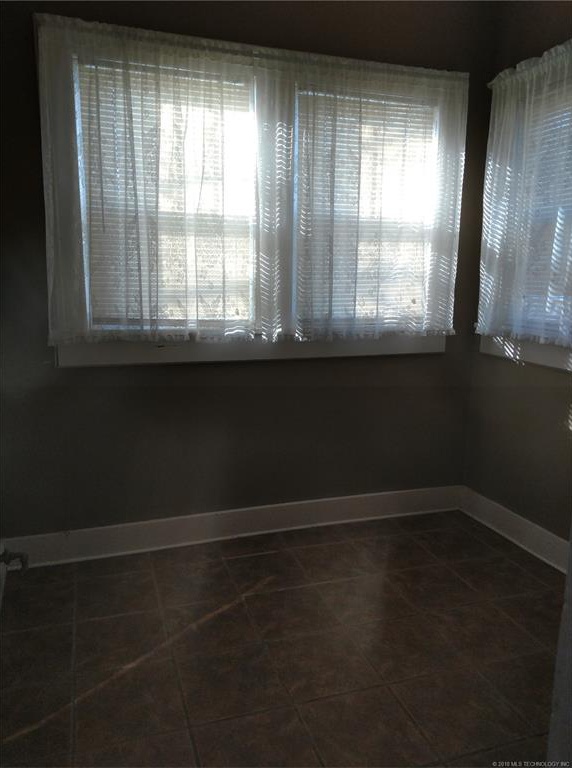
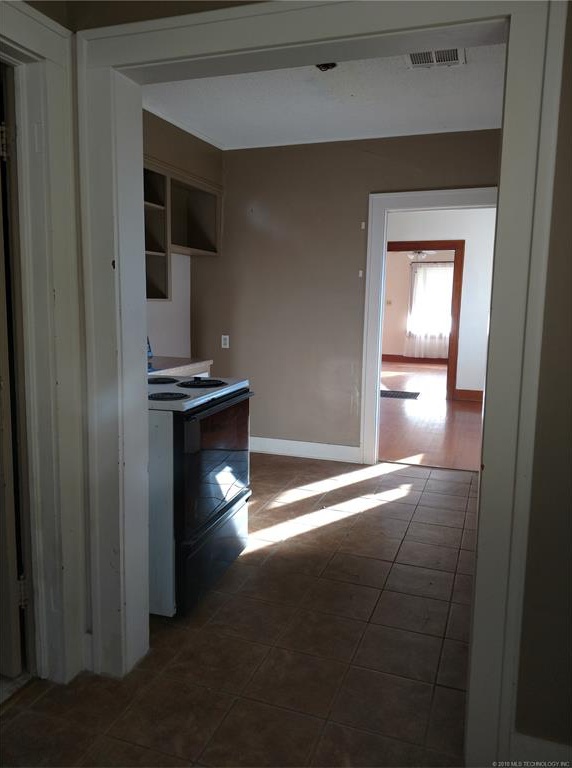

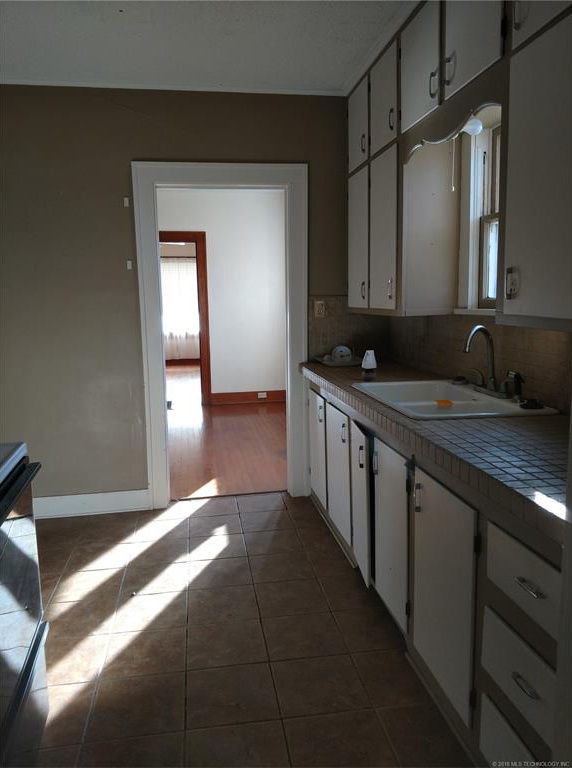
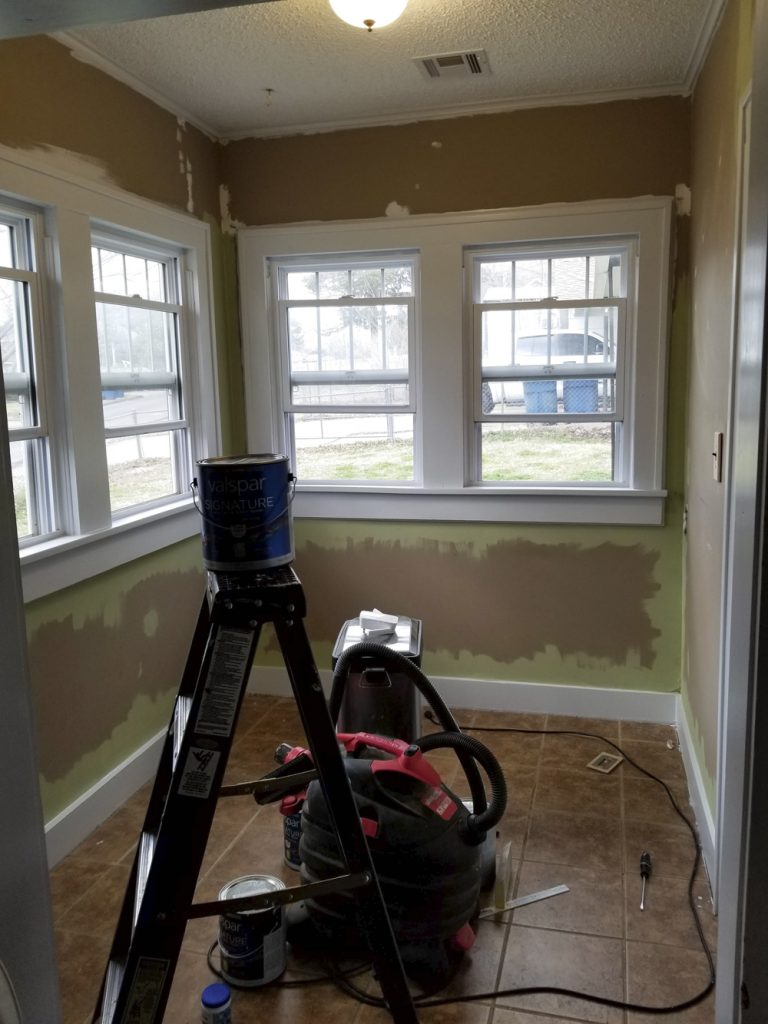
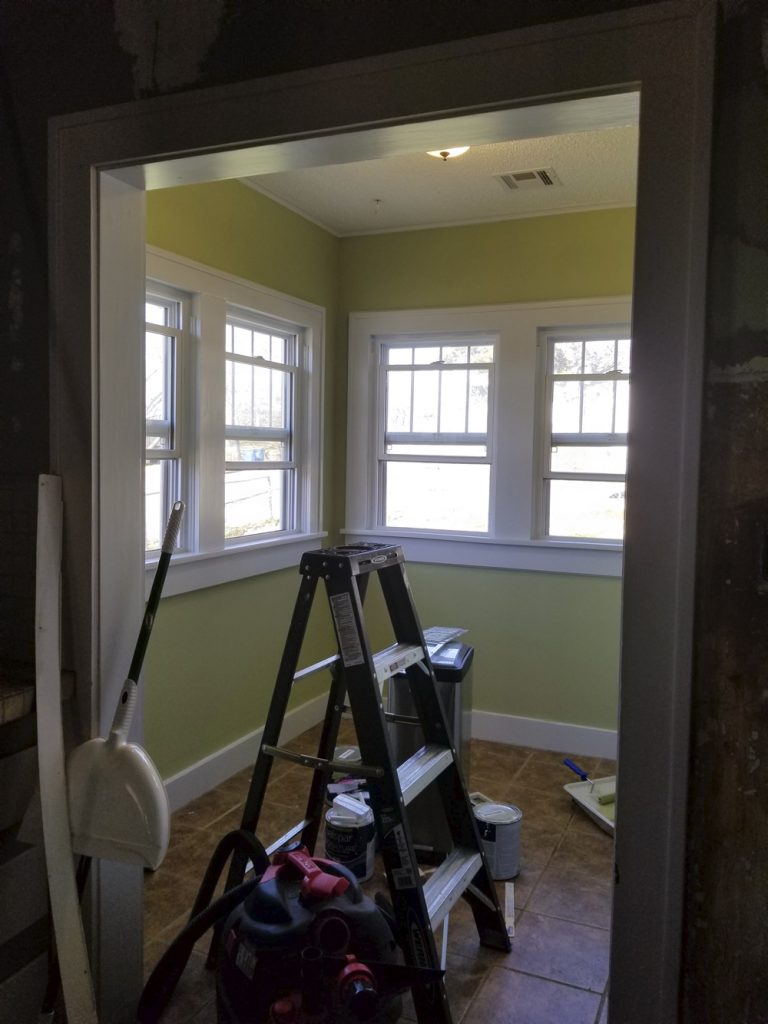
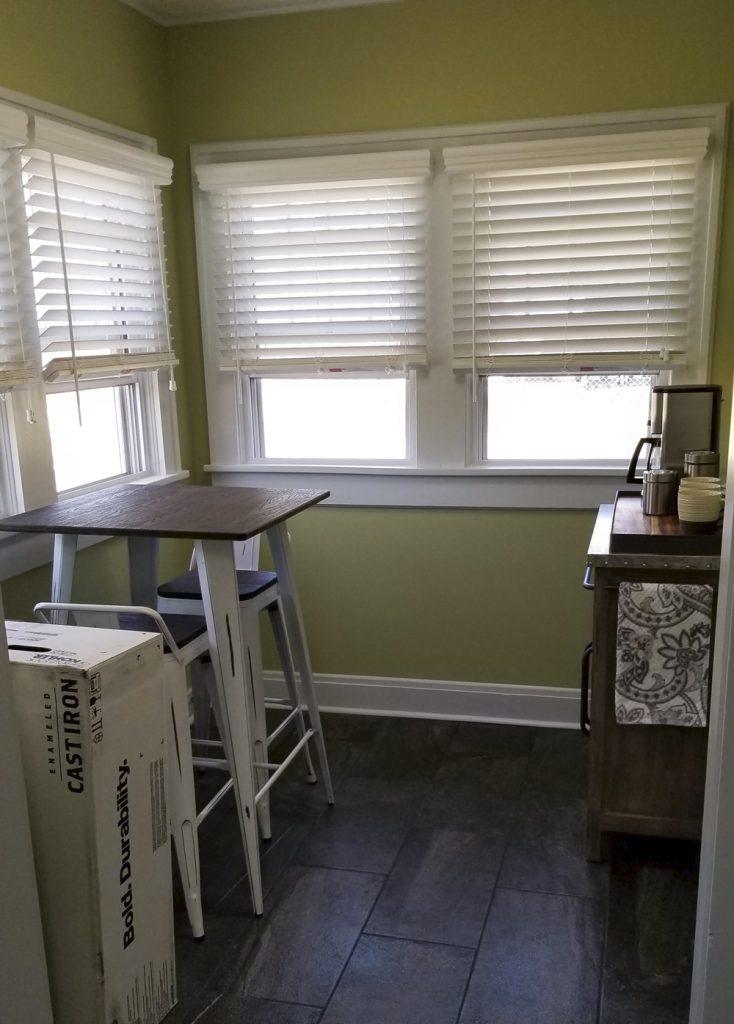
I am starting in the breakfast nook painting the trim work and repairing the drywall seams. I also ordered the new blinds which should be in next week.
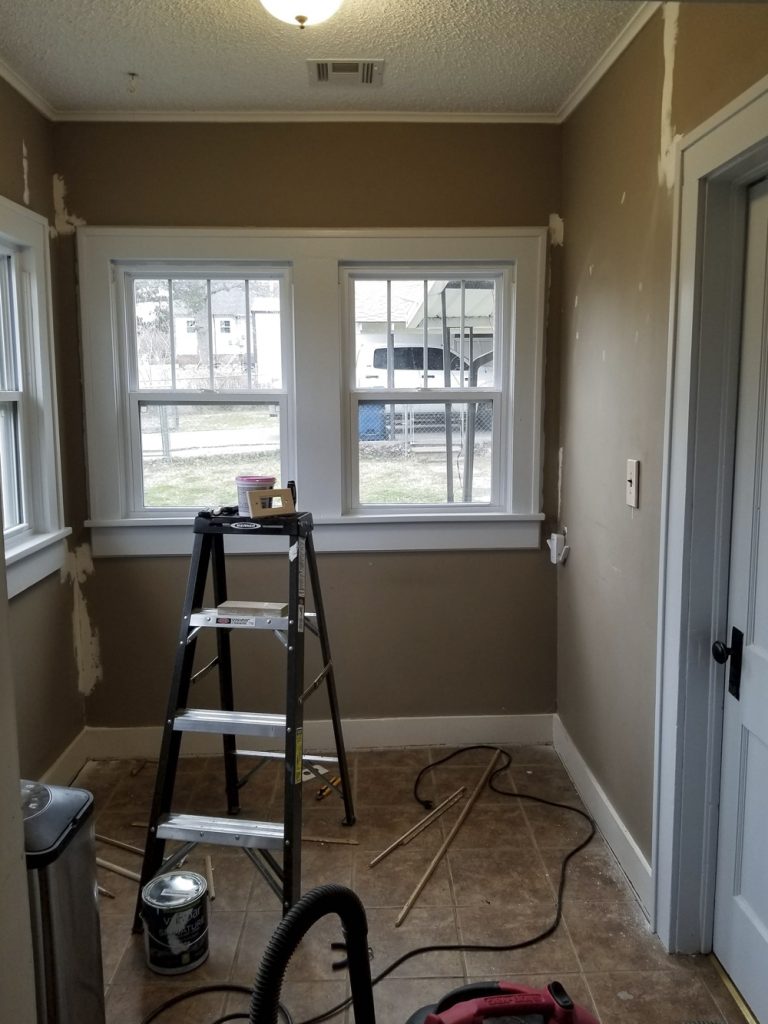
As I was browsing for ideas to freshen up the kitchen and I came across some interesting color pallets and decided to go out on a limb with a muted lite green. I’m guessing people are either going to love it or hate it and probably not much in between. After some initial second-guessing, it is starting to grow on me or I just really don’t want to repaint.

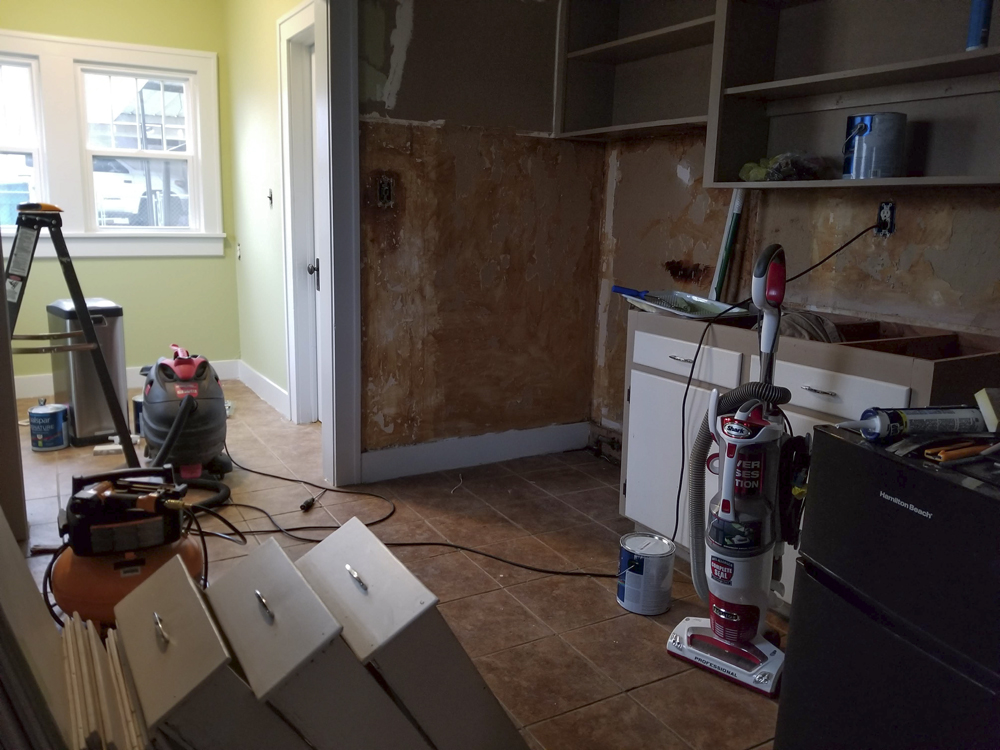
Removed the 1/8 inch white gloss hardboard that was around the stove and back wall to see what was behind it as it seemed a little odd and random. As it turns out looks like they did not want to finish the wallpaper removal and just covered over it. I don’t blame them and as you can see removing multiple layers of wallpaper from 80-year-old plaster was not an easy or productive task. I’ll be doing the same thing but with a little nicer wainscoting board.
The blinds arrived and are ready to install. I have given a shoutout to AwardBlinds for their quick delivery and reasonable prices on previous posts. In this order, three of the four binds had quality problems. Frustrating for sure, but I called them up and provided photographs, and within a few days new blinds were delivered and no return of the damaged blinds. These were utterly new blind sets that contained hardware, valences, and blinds. This leaves me three extra blinds with minor irregularities for use in other rooms if needed.
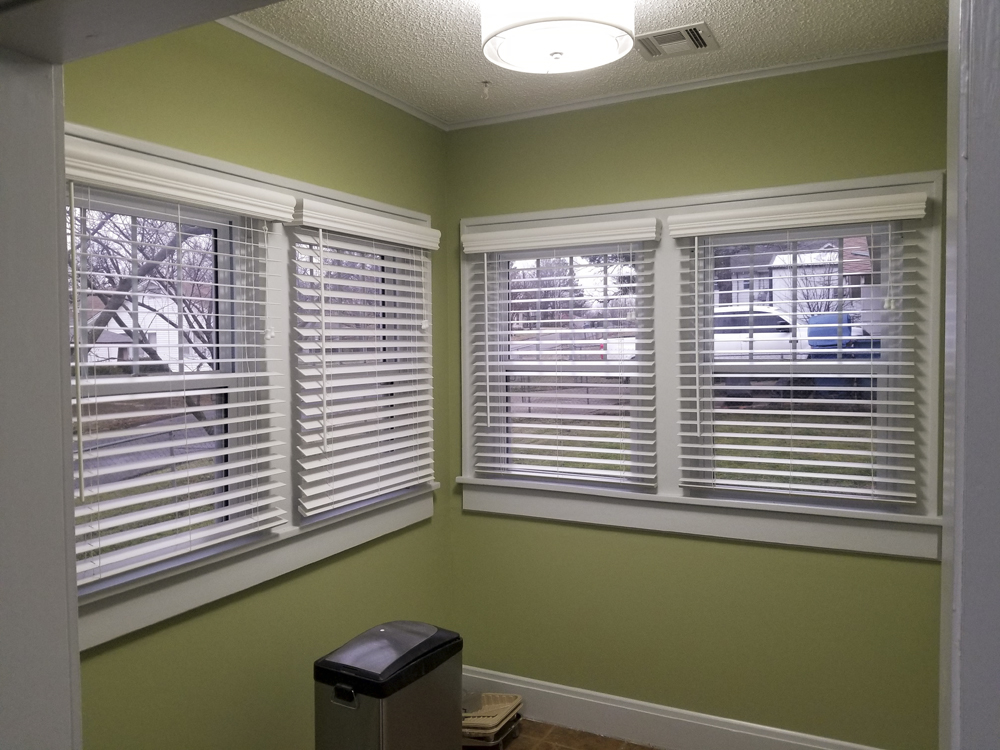
With the breakfast nook Walls, trim, blinds, and lighting complete it was time to move into the main kitchen area and begin repairing the walls and start painting.
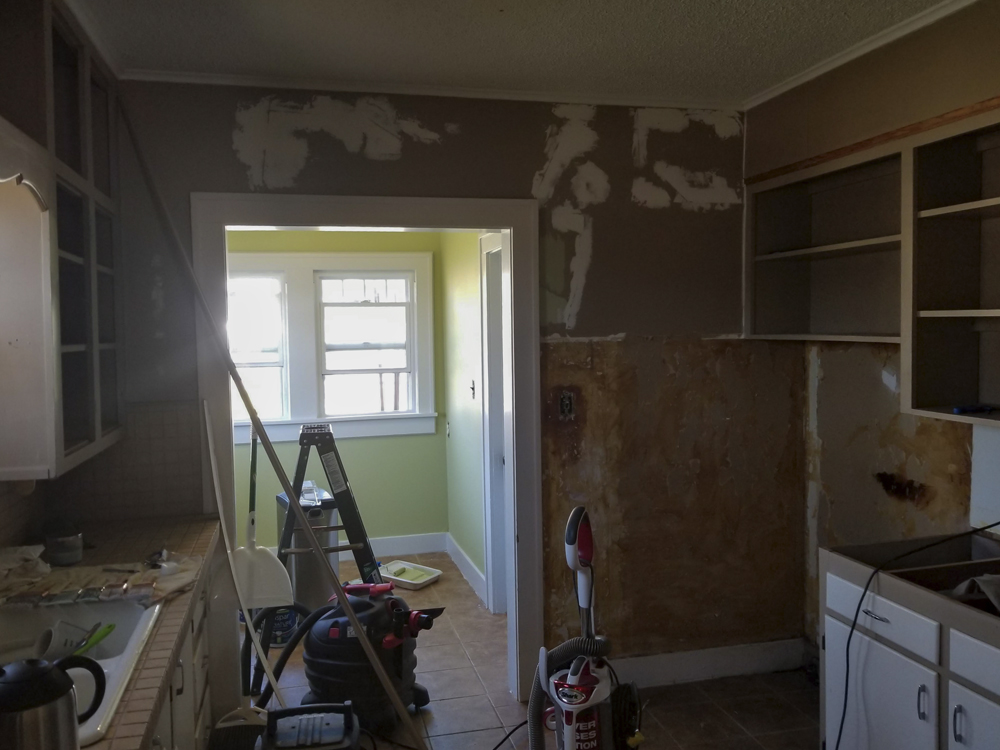
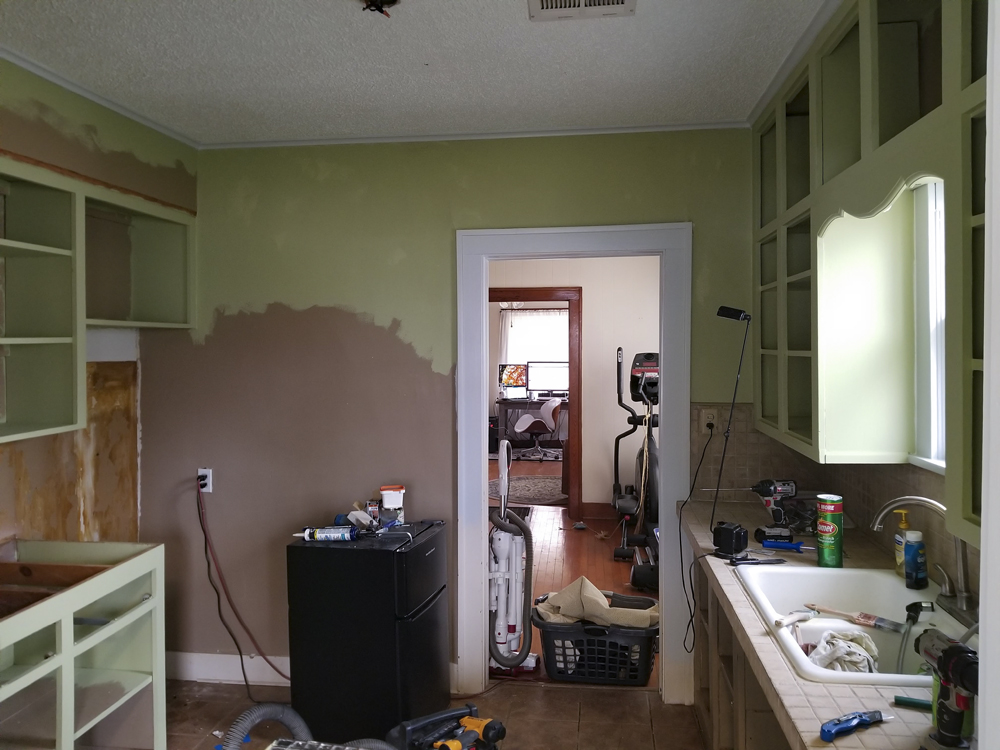

With the required painting completed to the point where wallboard installation could begin, I began measuring, cutting and attaching the new wainscotting.

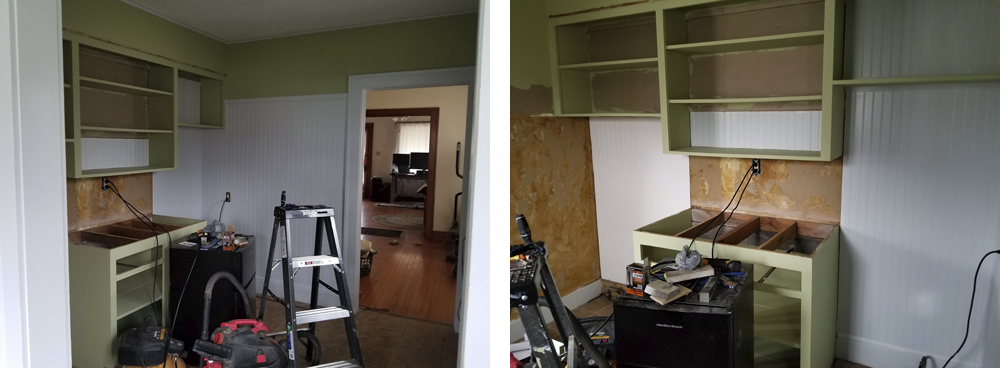
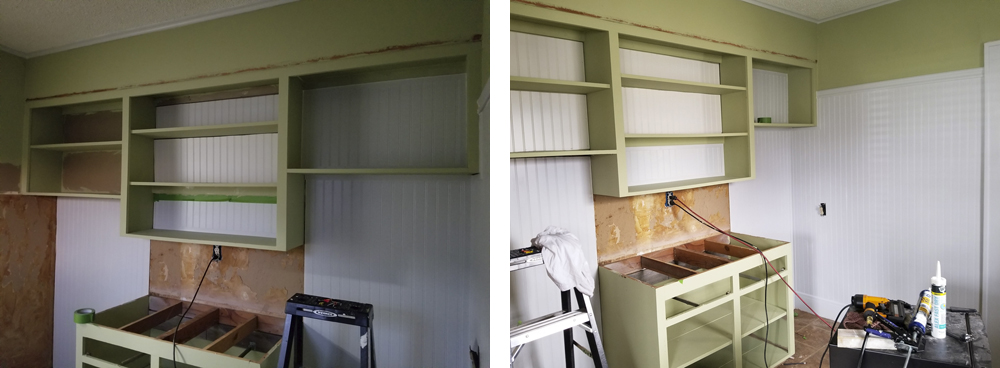
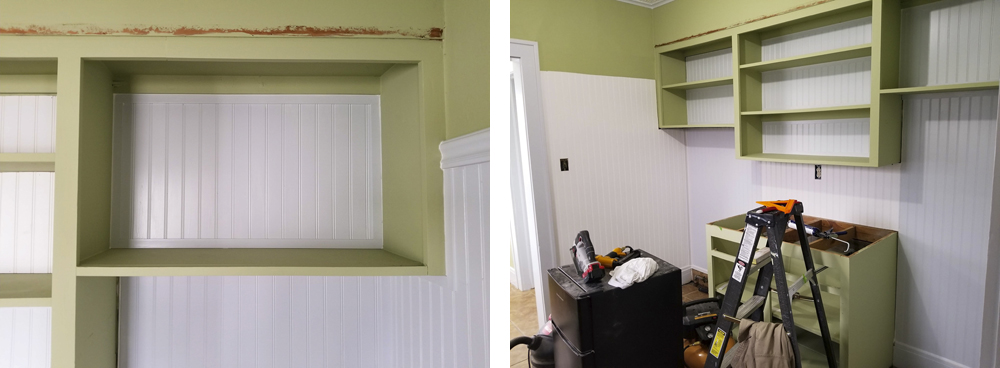
The finished product. Now on to the cabinets on the sink side of the kitchen. During this work, I also installed the new ceiling light fixture. I had a little trouble with the wiring layout of the new switch and had to phone in some help as electrical is one of those things that can’t be wrong.
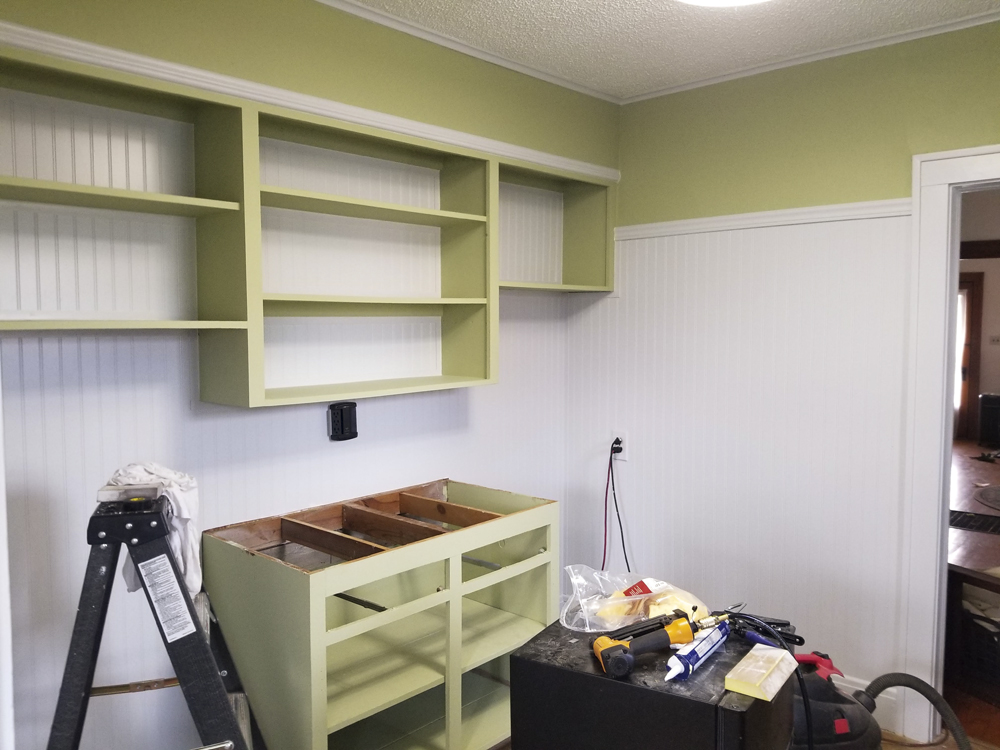
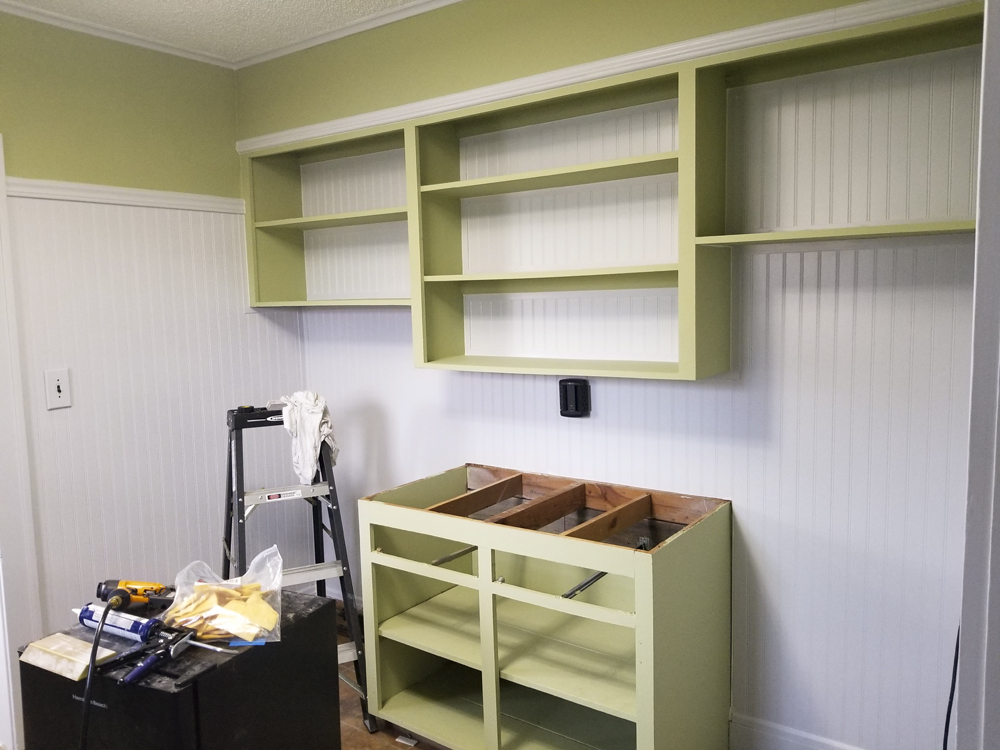
After completing the shelves on the appliance side of the kitchen I also added the wainscotting to the back of the lower cabinets on the sink side for continuity and to clean up the back of the walls.
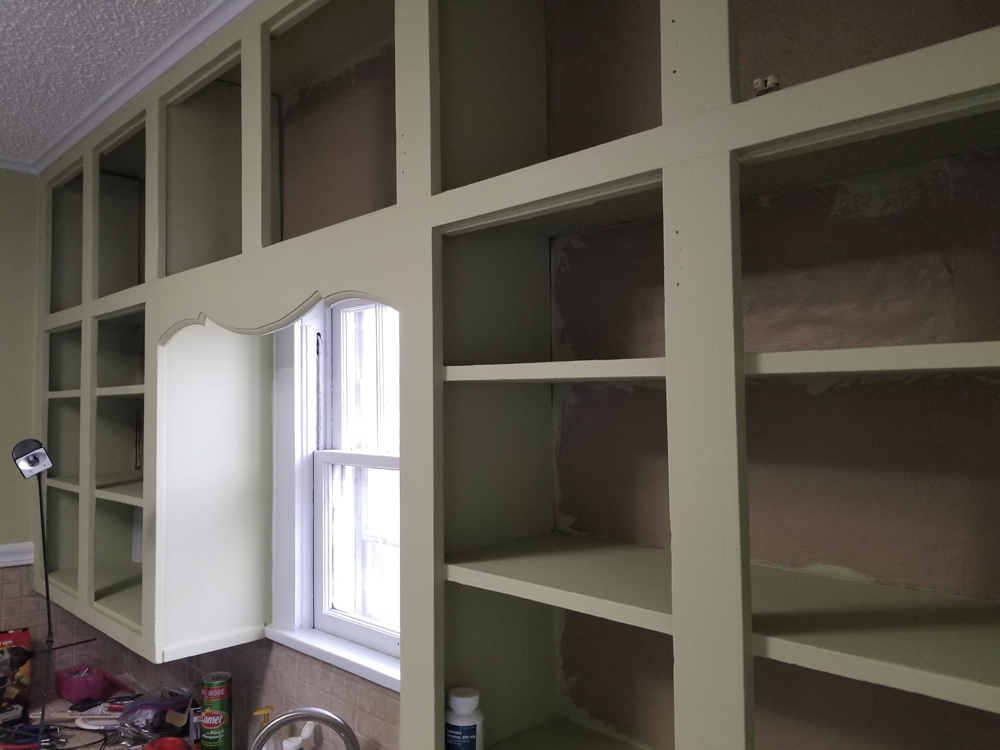
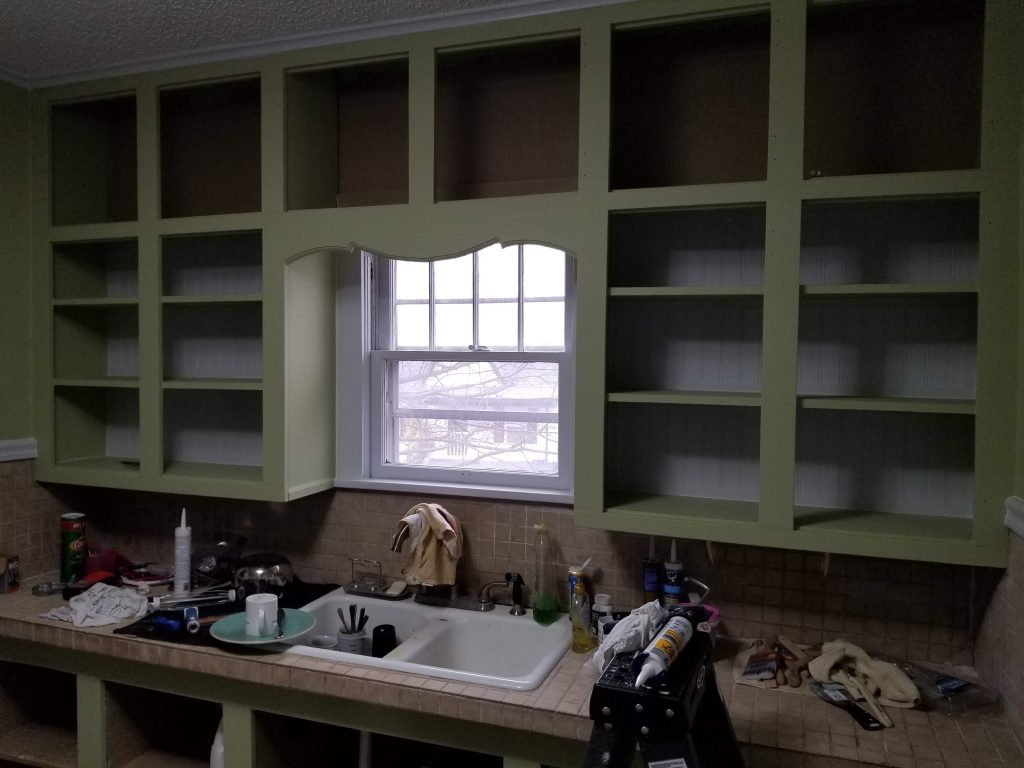
Tile installers arrive today. I went with professionals for the tile and countertops as I did research a lot of how-to’s and there was to much room for error. Didn’t want to blow the kitchen with my first go at it.
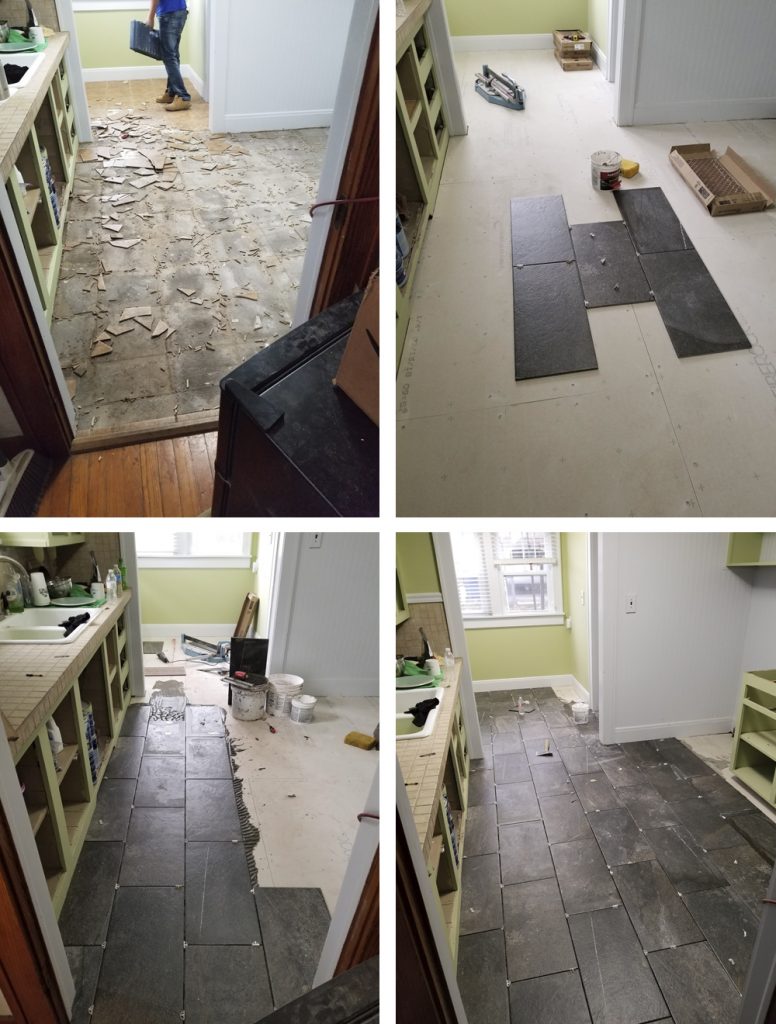
With new tile flooring completed the kitchen is really beginning to take shape.
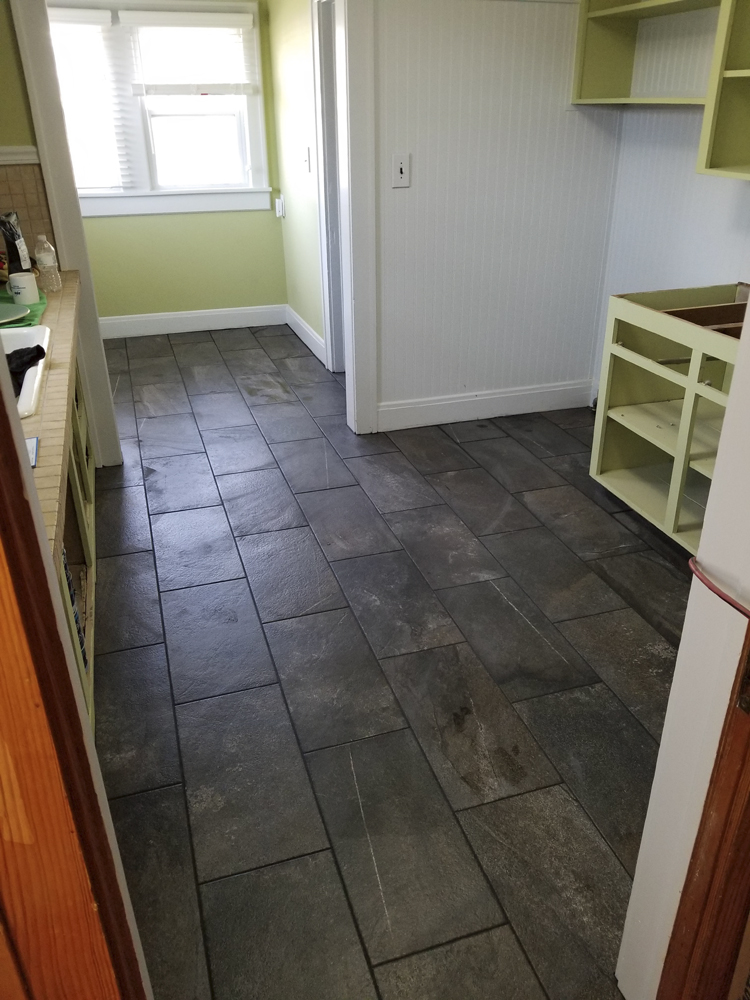
While I wait for the countertops it’s time to finally get some appliances delivered, add some furniture to the breakfast nook and begin the cabinet door upgrade and install.

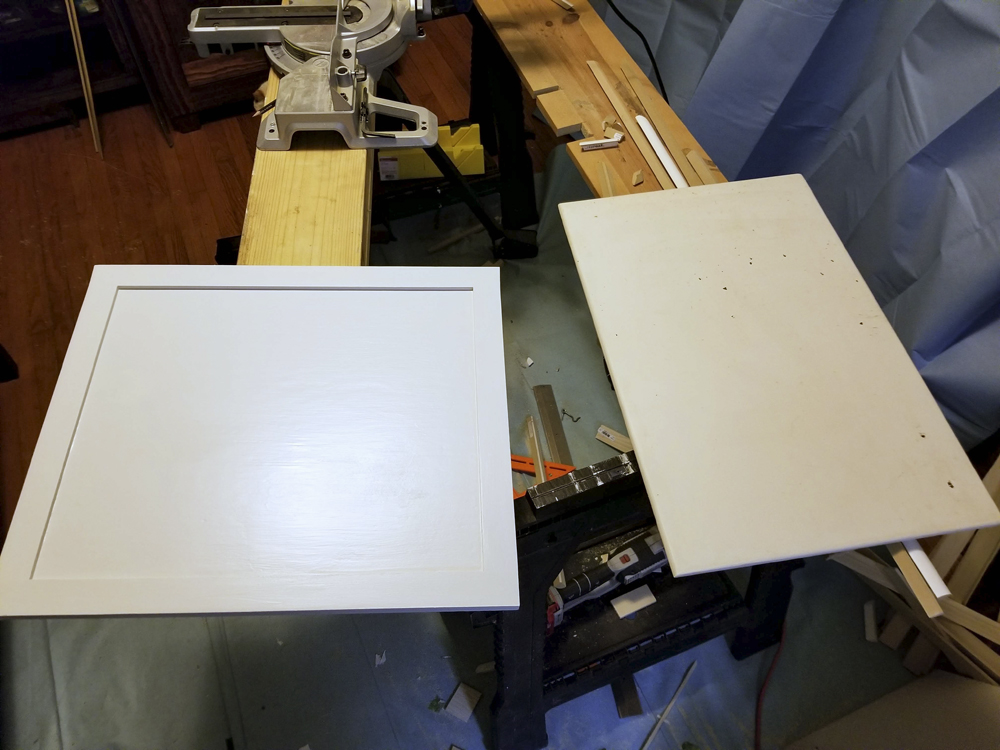
All of the cabinets are custom made. A better description is handmade which has positives and negatives. The positive, they are constructed of very sturdy hardwood pine and they are built into the structure. No manufactured wood here. The negative, if it didn’t show with the cabinet doors closed they didn’t really care what it looked like. Another thing that really dates the kitchen is all the cabinet doors have bull bevels on the edges. The bevels, like everything else, are handmade and not uniform.
My challenge here is to give the interiors of the cabinets a more finished look and to create an updated door style. The cabinet doors although structurally sound are pretty banged up. To improve the look I have sanded them down and used wood filler to clean up any dings and scratches and then added a shaker style trim. To complete the clean squared look required filling the gap between the trim and the bevel. With a fresh coat of paint new and hardware provided a clean new look for the cabinets.


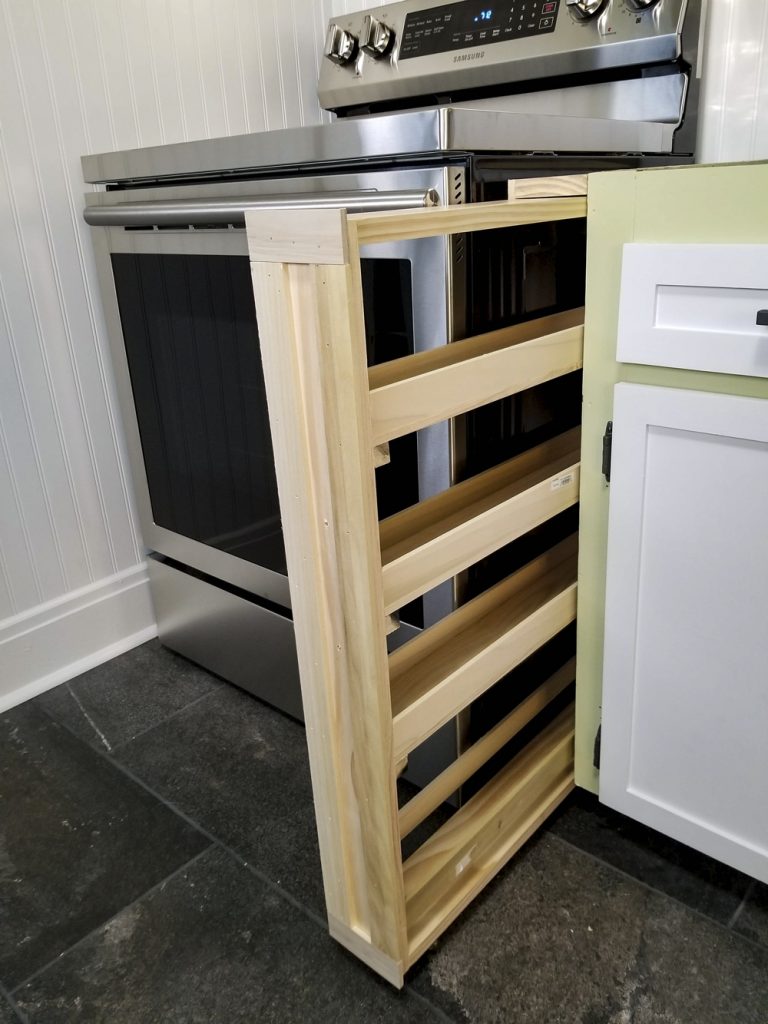
Since I decided to go with a 30-inch range I used the extra space to build a custom roll-out spice rack which really helps with the tight space in this small kitchen.
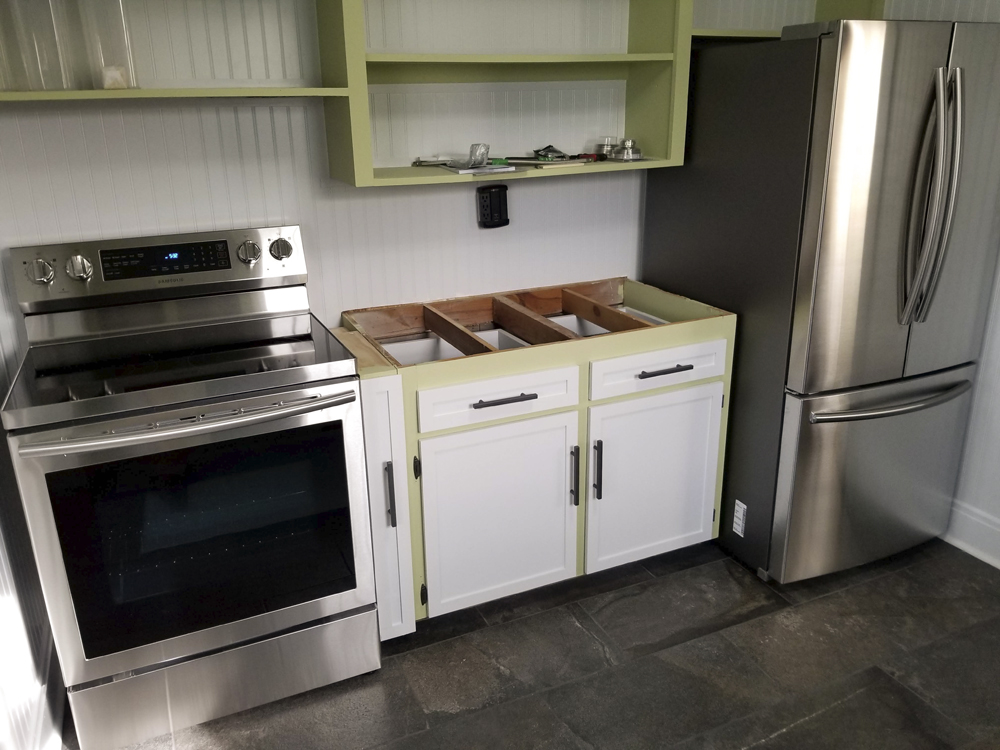
The cabinet upgrades give a nice updated look to the kitchen. I started with large block-style drawer pulls but did not like them as they were just too large and took away from other features in the kitchen. In later photos, I change these out to tapered pulls on the drawers and a single knob on each door. With the appliance side of the kitchen complete, the countertops were ready to be delivered and installed.
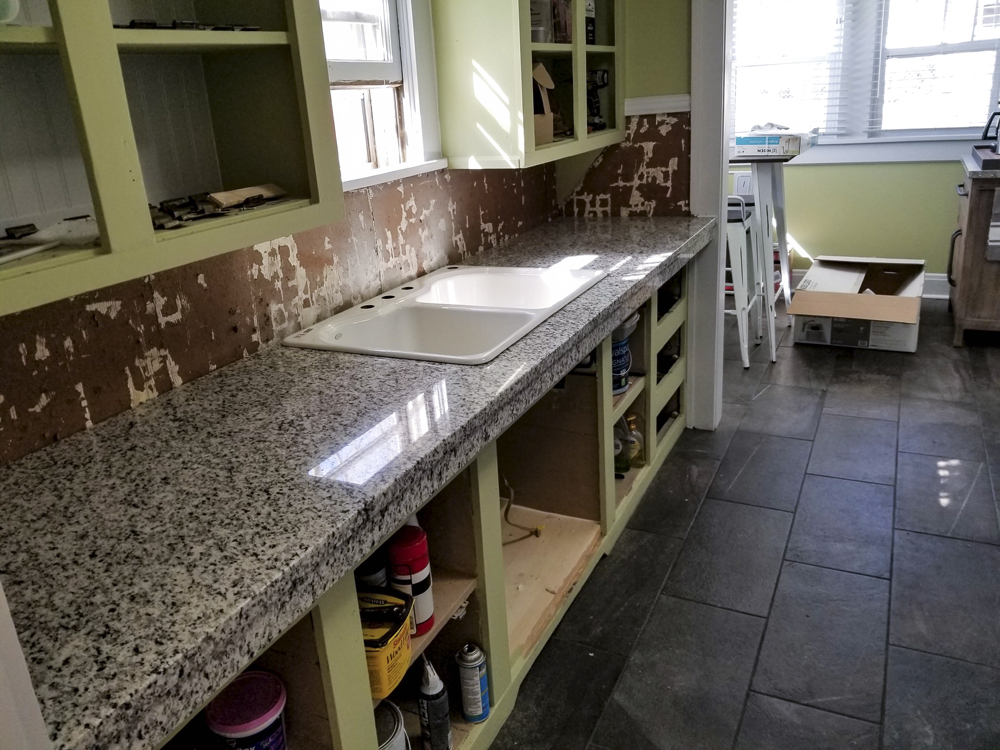
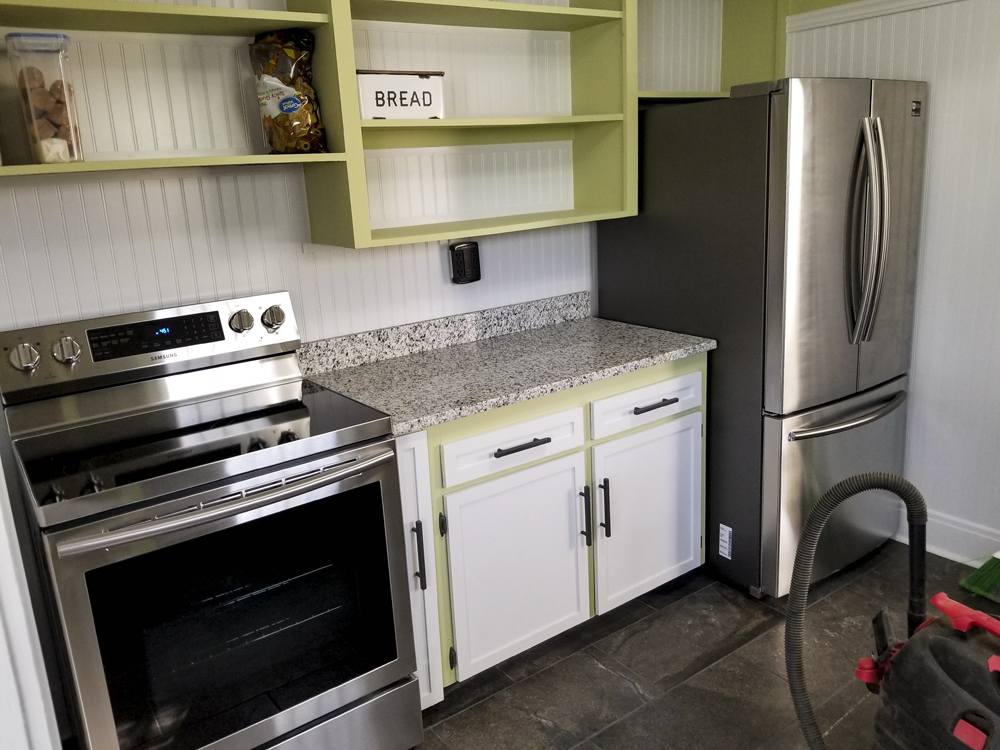
For the plumbing, I used a 4 hole sink and instead of installing the soap dispenser I put in an inline filtered water spigot as with the small size of the refrigerator there was no option with a water dispenser built in. Another issue I ran into is the power switch for the disposal was done by open wires coming out of the wall to a halfway installed light switch and junction box attached to the side of the cabinet under the sink. not only was this inconvenient but it was also a hazard. To fix this, I properly installed an outlet junction box and attached a remote controlled switch to plug the disposal into. This allowed all the wiring to be properly secured with a remote switch located on the counter.

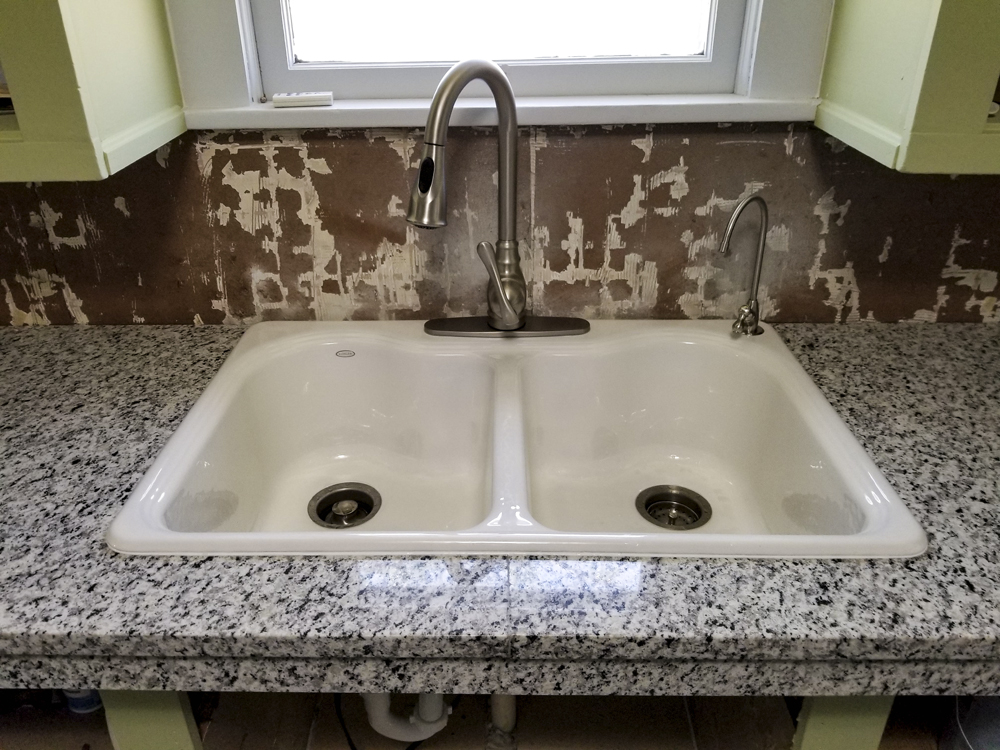
Next on the list to complete is the backsplash.
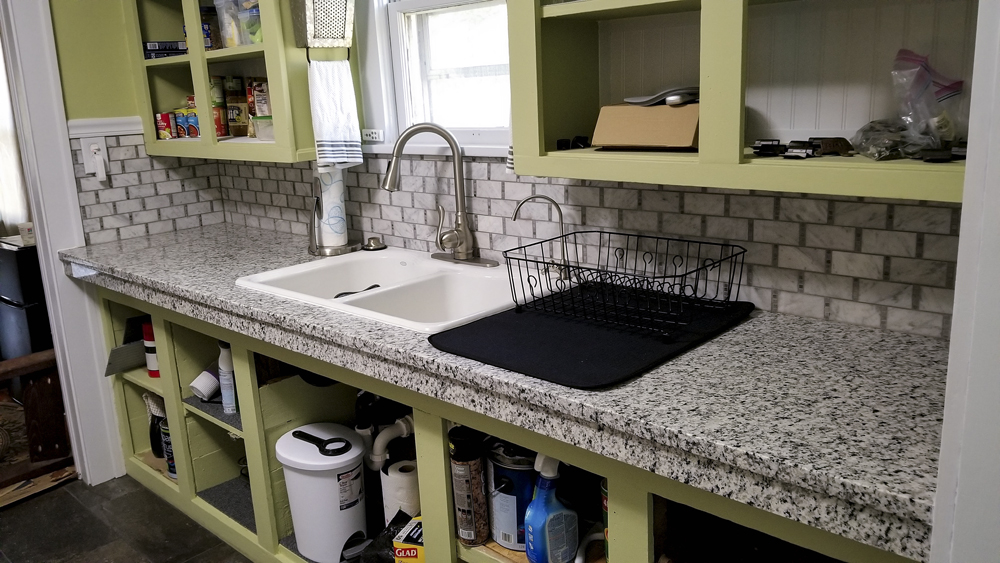
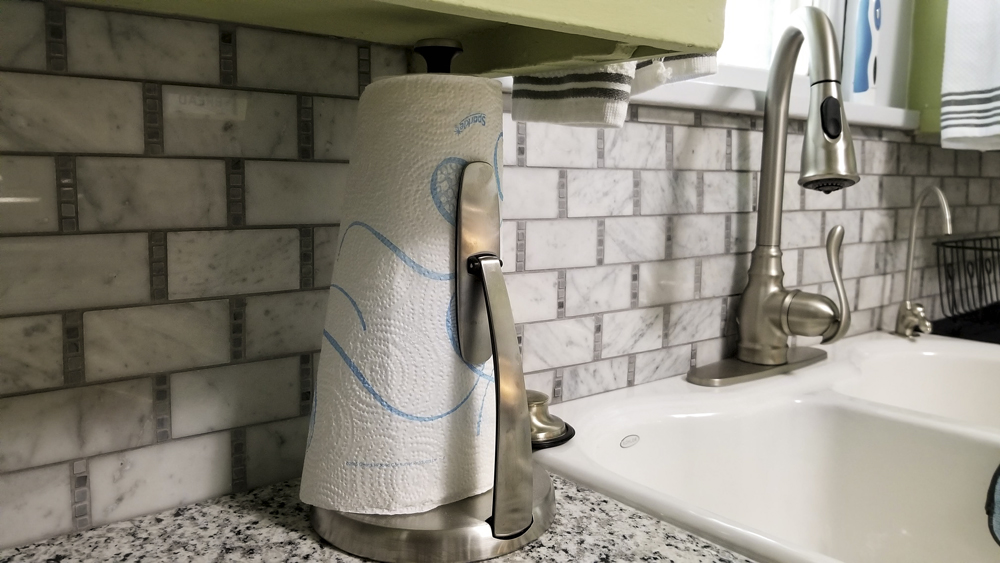
Completed updating and installing the top row of cabinets with the new pull knob hardware. Also replaced the hardware on the appliance side and installed the vent hood over the range.
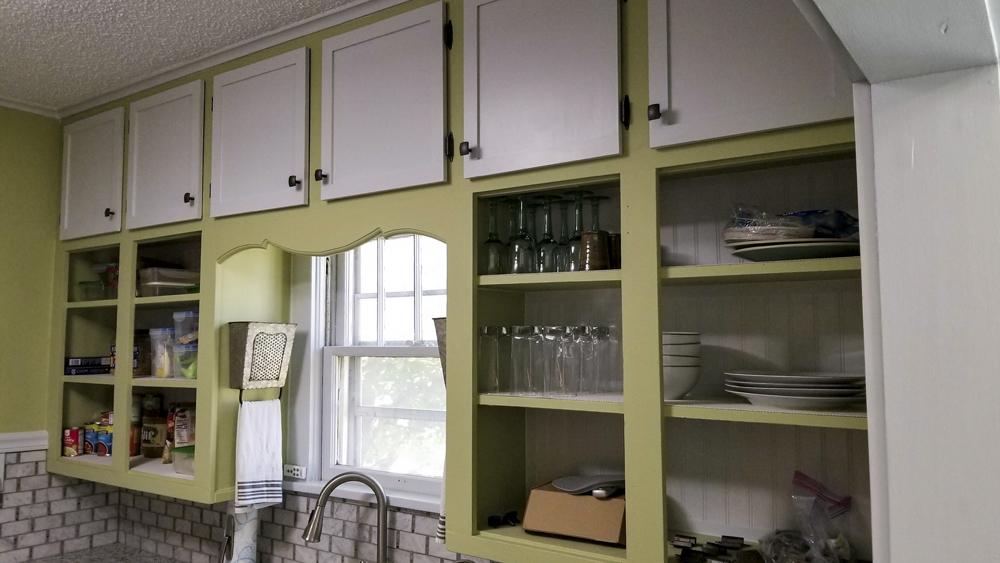

The second row of cabinets completed on the sink side of the kitchen.
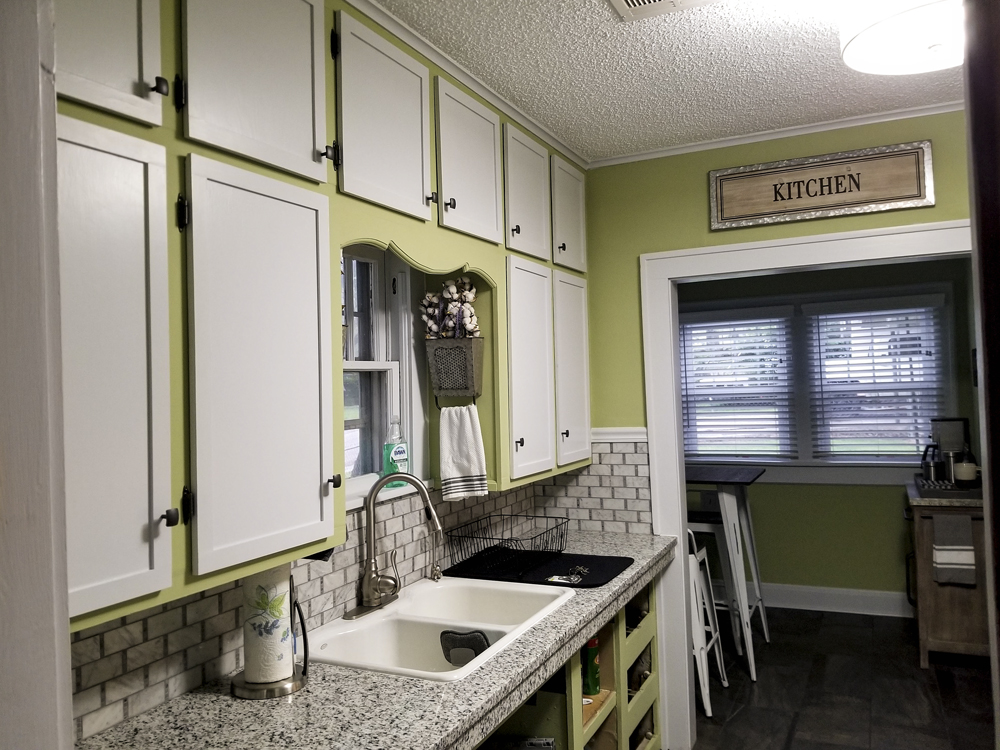
The kitchen is finally complete. One of the changes I made from my original plan was to install new countertops and backsplash but the cost was not that great as space is small and they really make the upgrades stand out. I also decided against a single basin farmhouse style sink as it would have required extensive modification of the cabinet structure and put me over budget for the kitchen remodel.
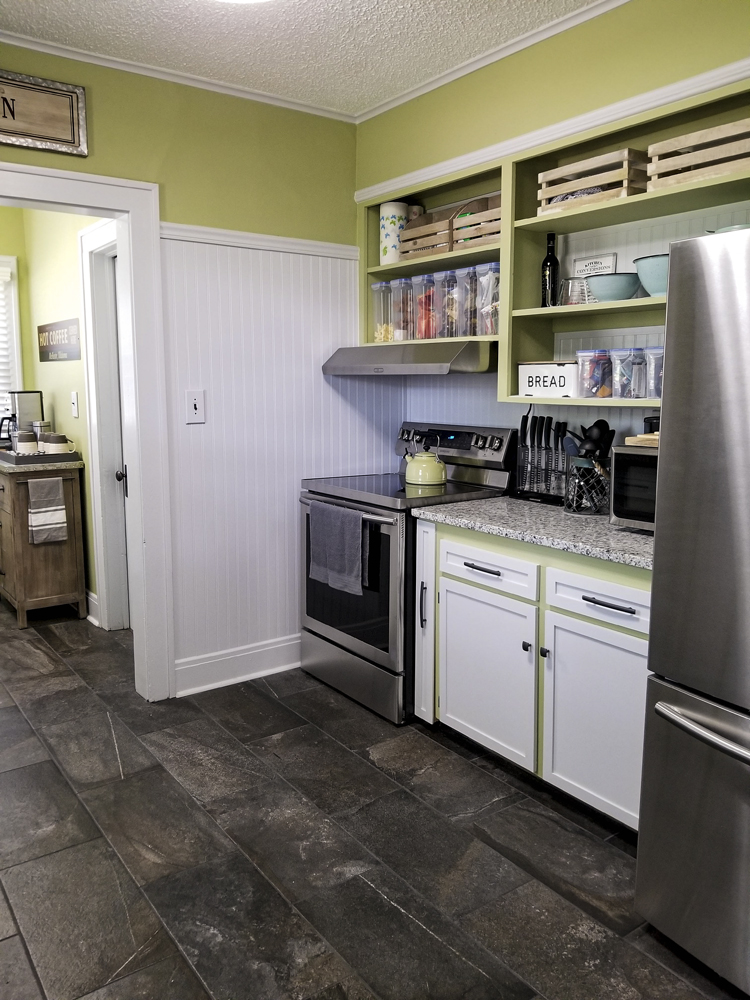
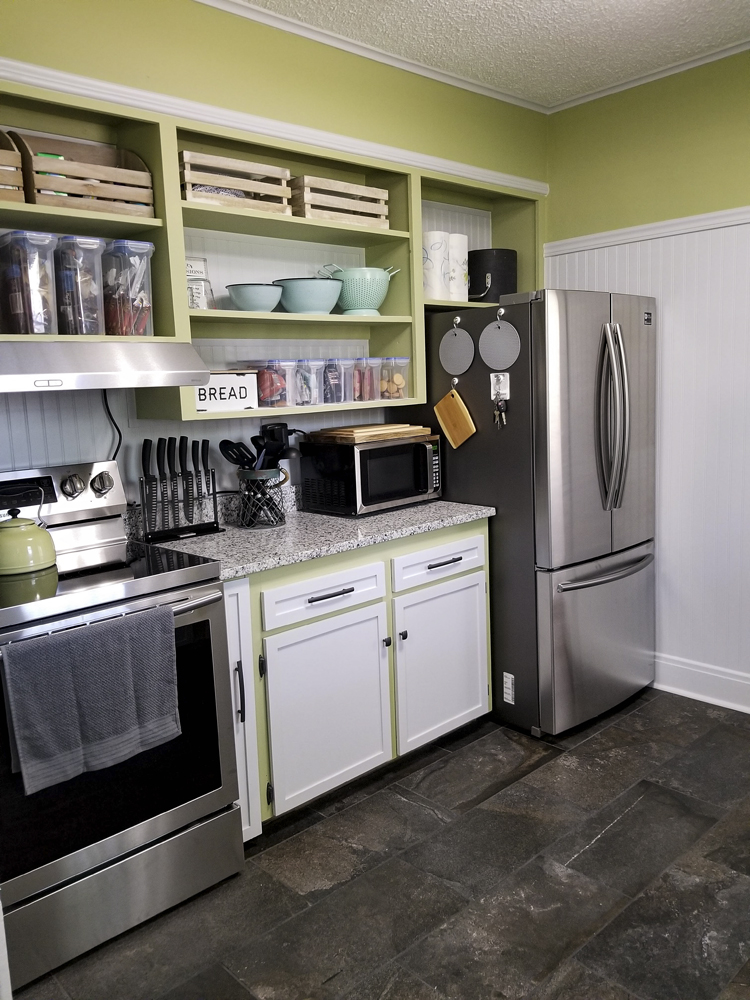
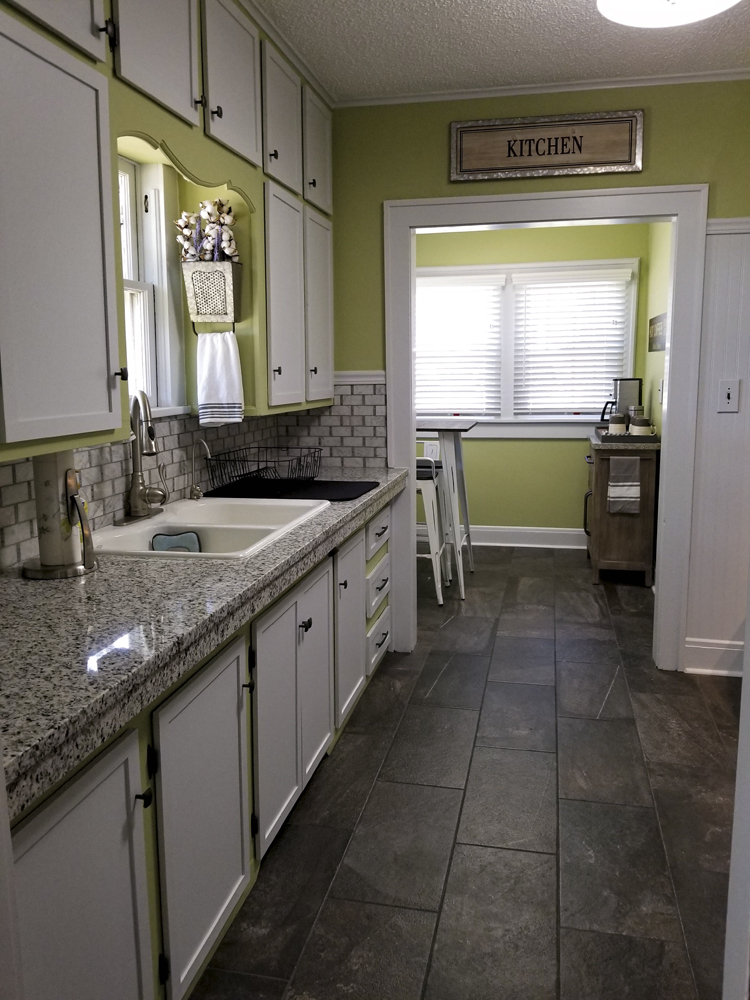
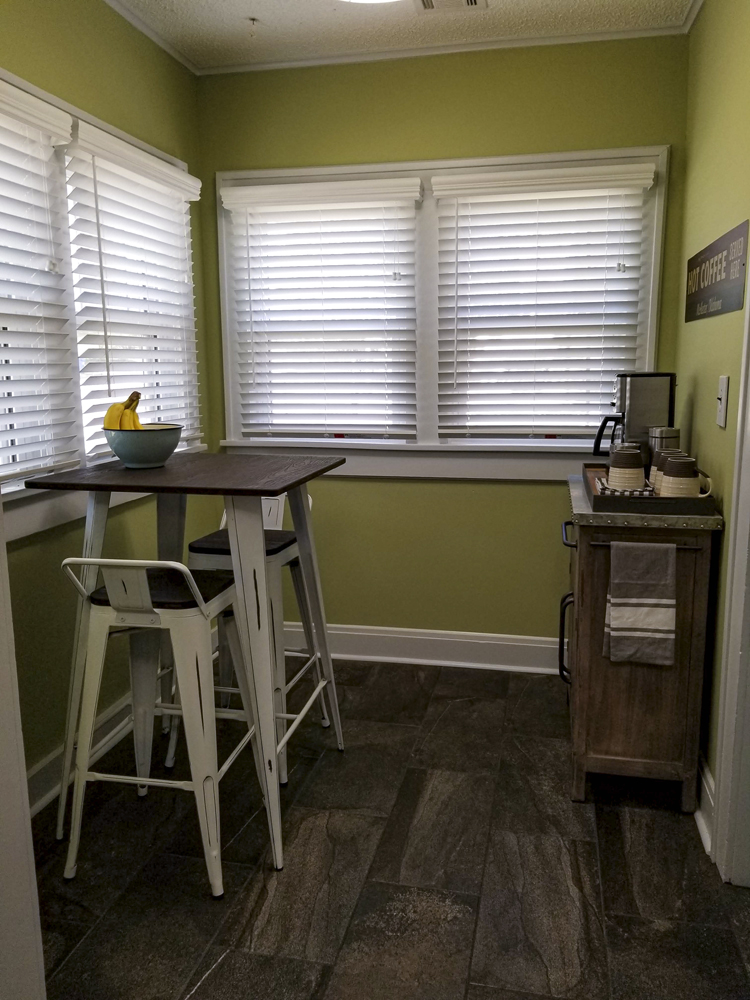
Now it’s time for a little R&R and then on to the dining room.
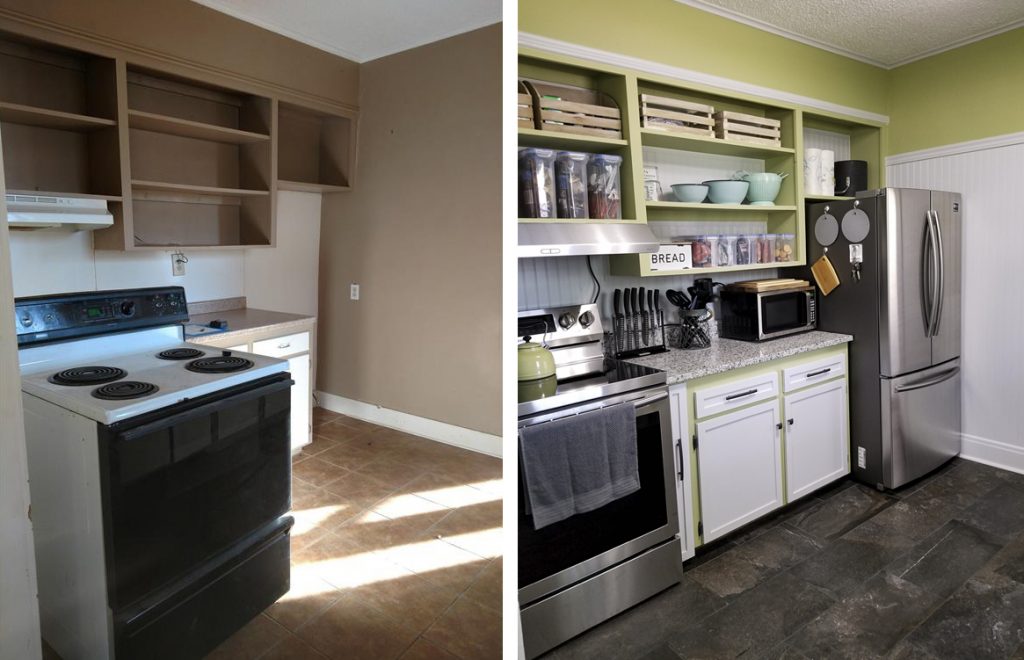
Looks amazing! Are the pictures in descending order? Like at the top is the beginning and then closer to the bottom are more recent? If so that green is the bomb! Sheri
They are… kind of a start to finish progression. I love the green. People seem to love or hate it.