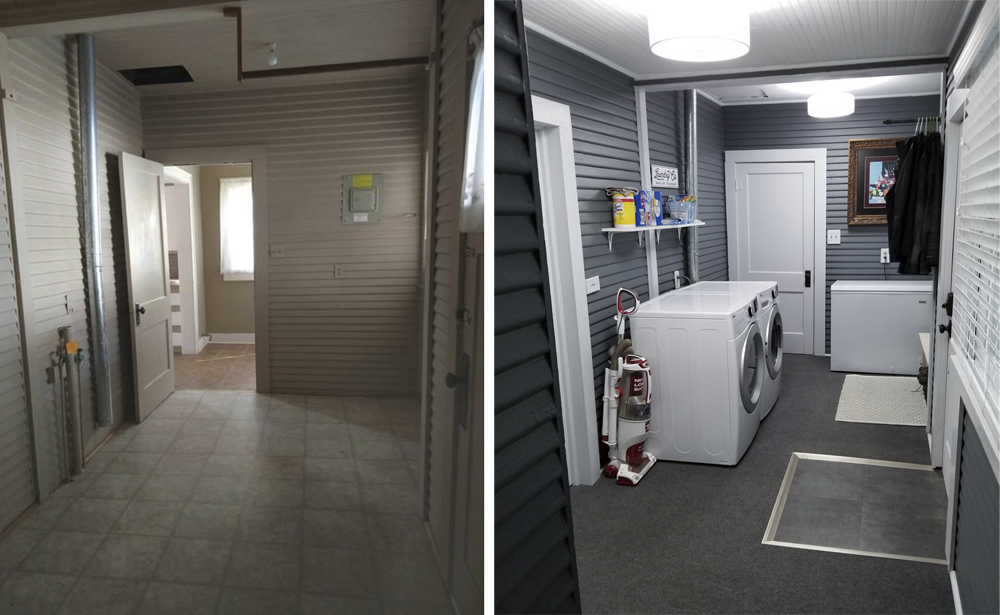
After completing the remodel of the spare room and learning a few new tricks and purchasing some new tools, it was time to move to the next phase. The laundry room/mudroom is part of the addition that was added to the back of the house. It appears the original foundation patio was enclosed with an extra section attached to cover the storm shelter that the spare room sits on top. This area has a wooden siding material comprising the walls and its very utilitarian. It’s going to be a little more difficult to modernize, but with some fresh paint, new floors, possible ceiling cover, a few repairs, updated lighting, and a new buildout for the laundry area it should do the trick.
Spare Room Remodel: This Old House: 1945 Craftsmen Style Remodel – Spare Room
Laundry/Mud Room Remodel: This Old House: 1945 Craftsmen Style Remodel – Laundry/Mudroom
Kitchen Remodel: This Old House: 1945 Craftsmen Style Remodel – Kitchen
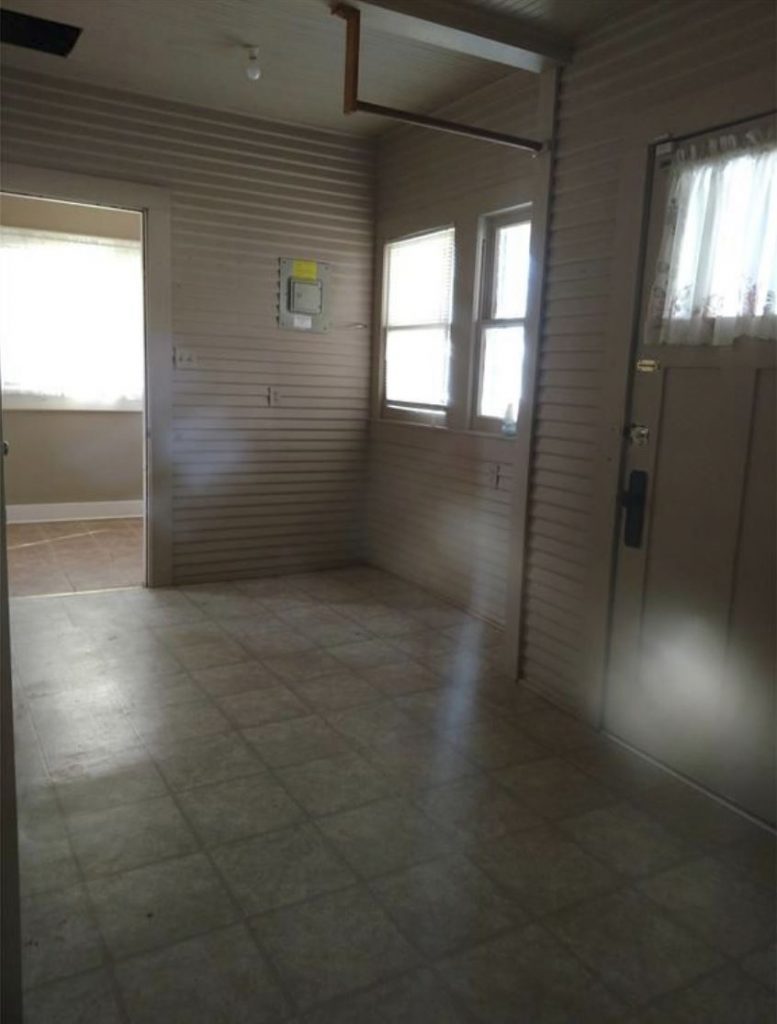
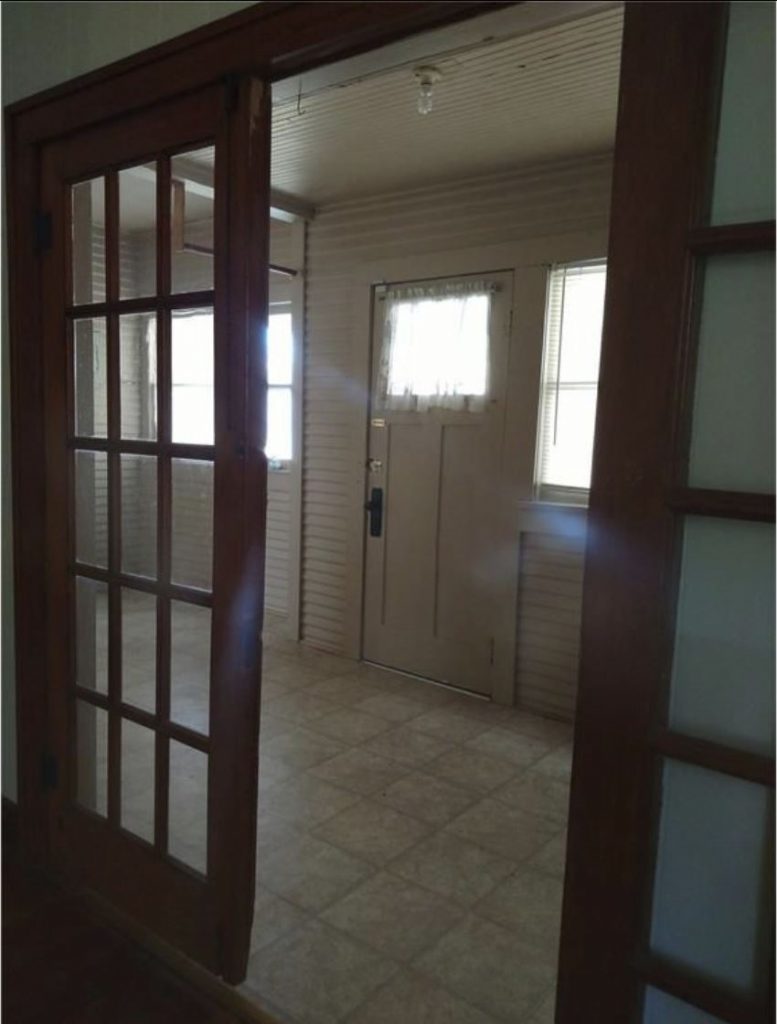
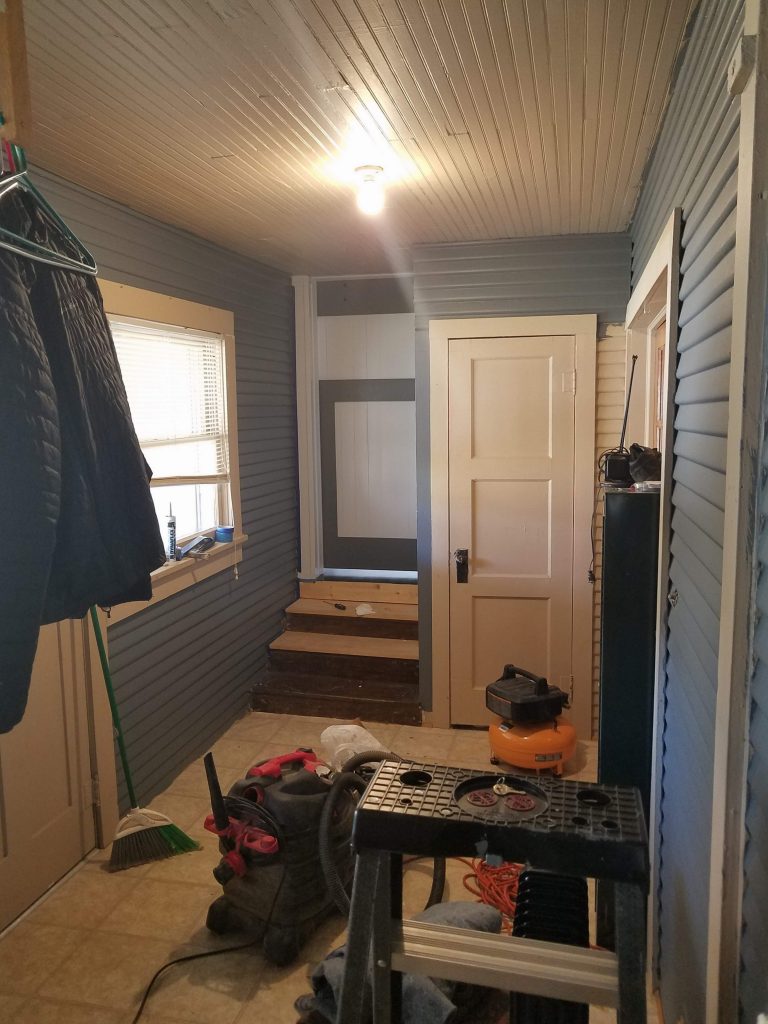
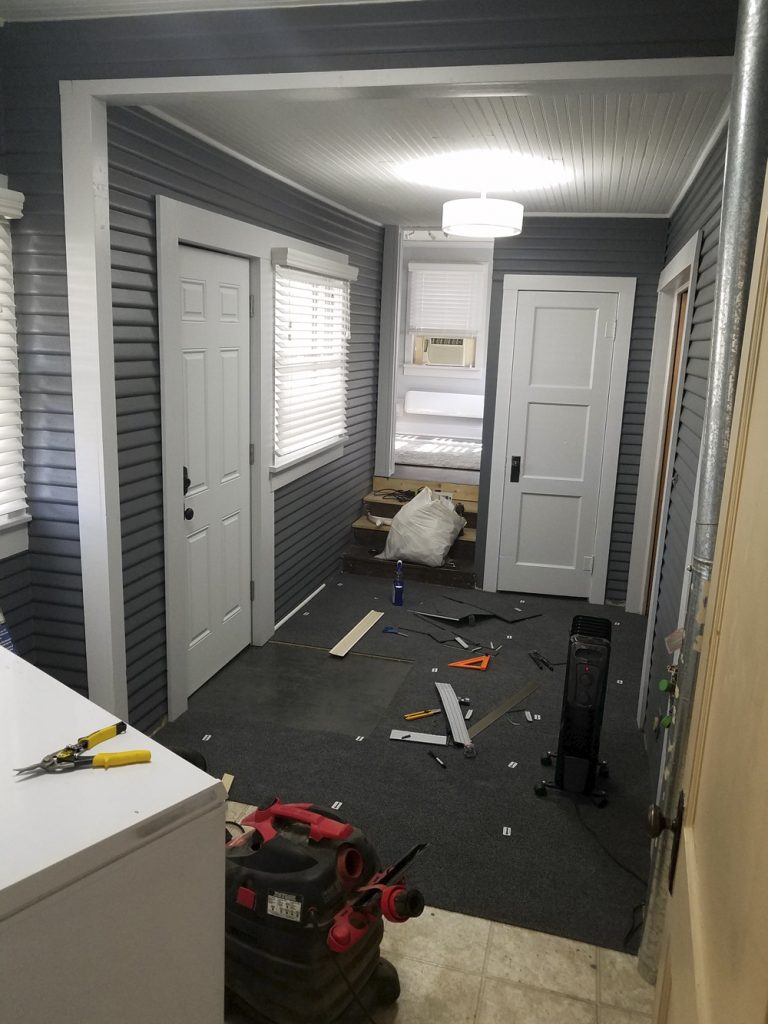
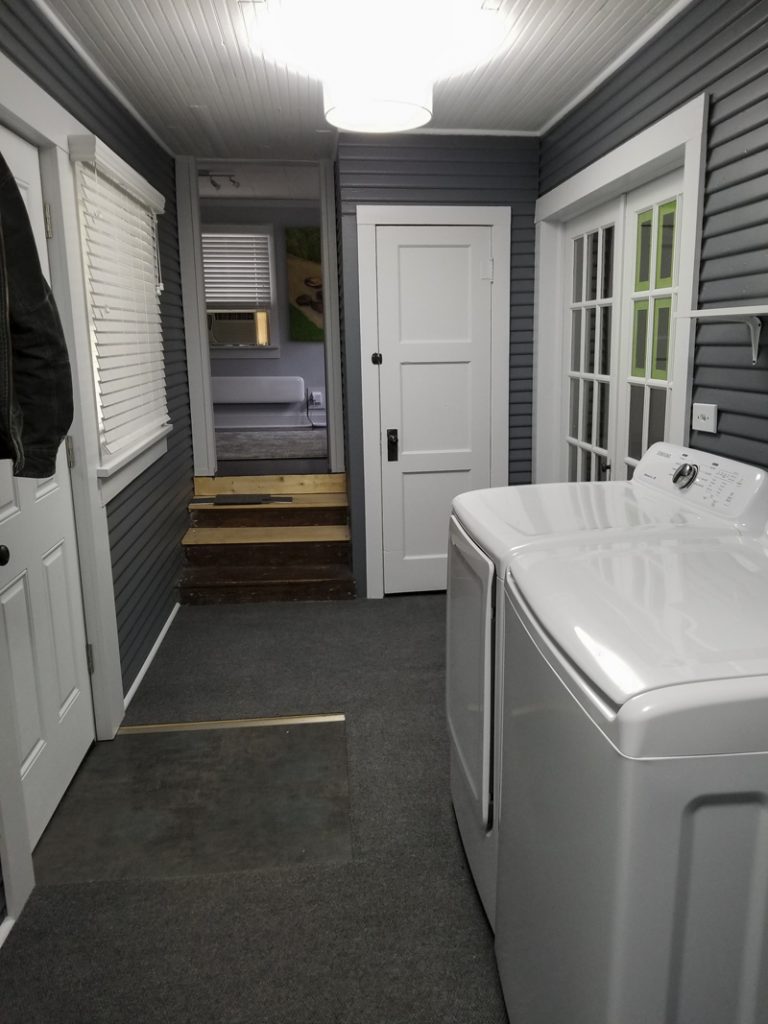
What I have to work with
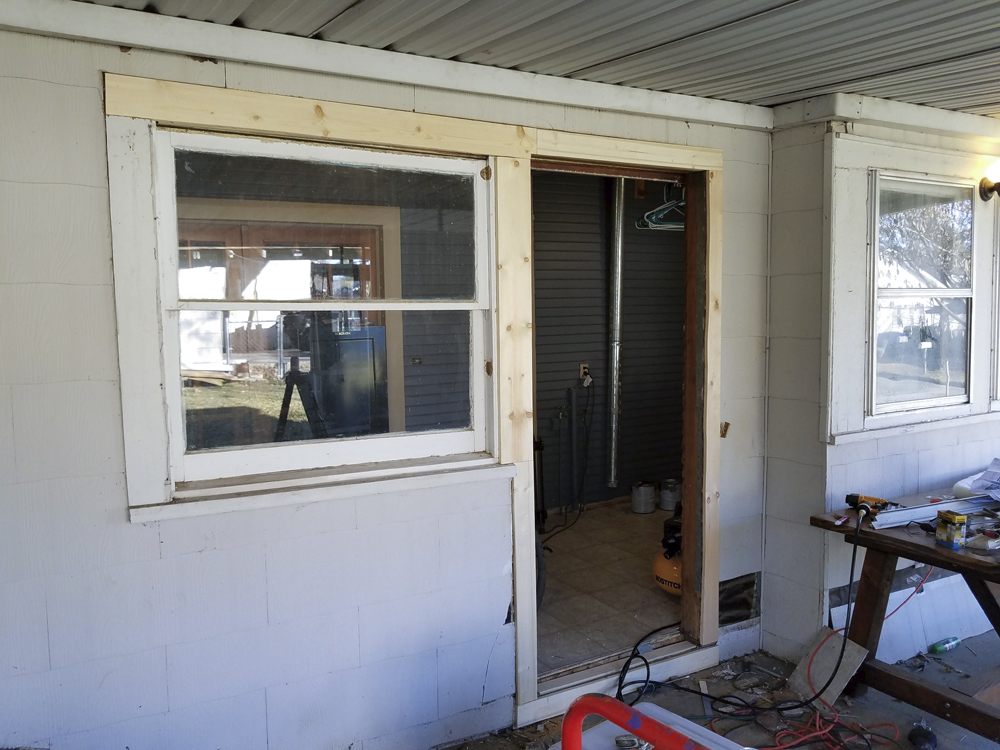
Utilitarian siding walls, ugly color, flooring, doors and door frames that need repairing.
The first order of business was to prep the walls for painting. Whoever painted this last sped through it, and the paint is old. There is so much excess paint on the seams of the panels that the globs and drips have begun cracking and peeling. I would estimate about 10% of the seams need to be cleaned up. To do this, I have to take a stiff paint scraper and a hammer and chisel out the bad spots. I then go back over and caulk the seams to smooth them out. Total PIA.
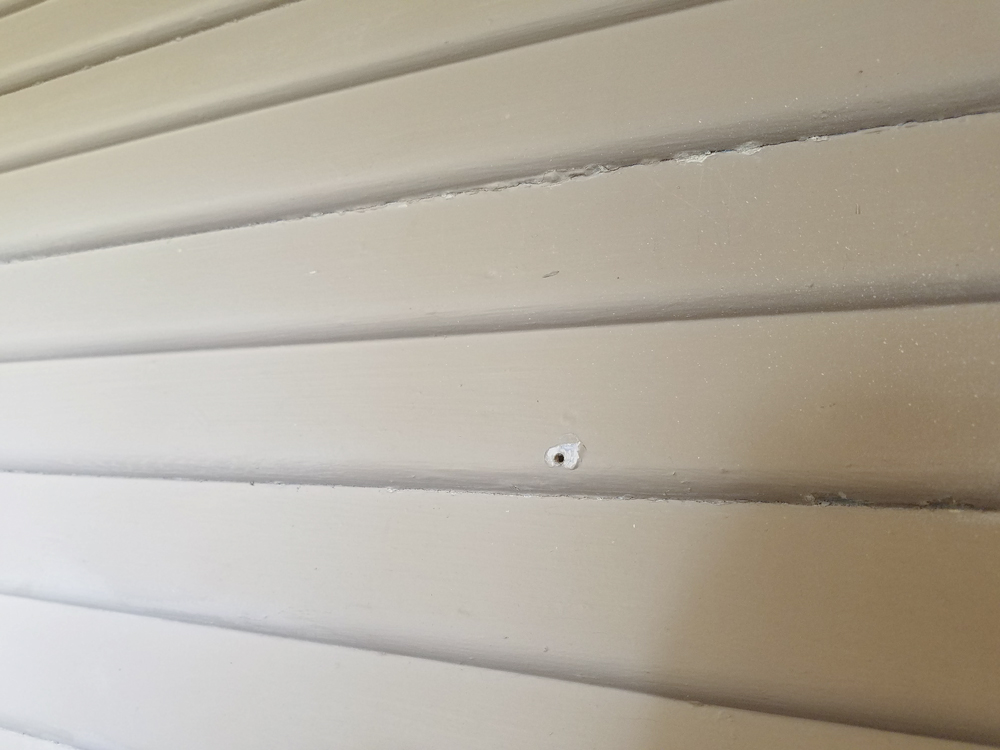
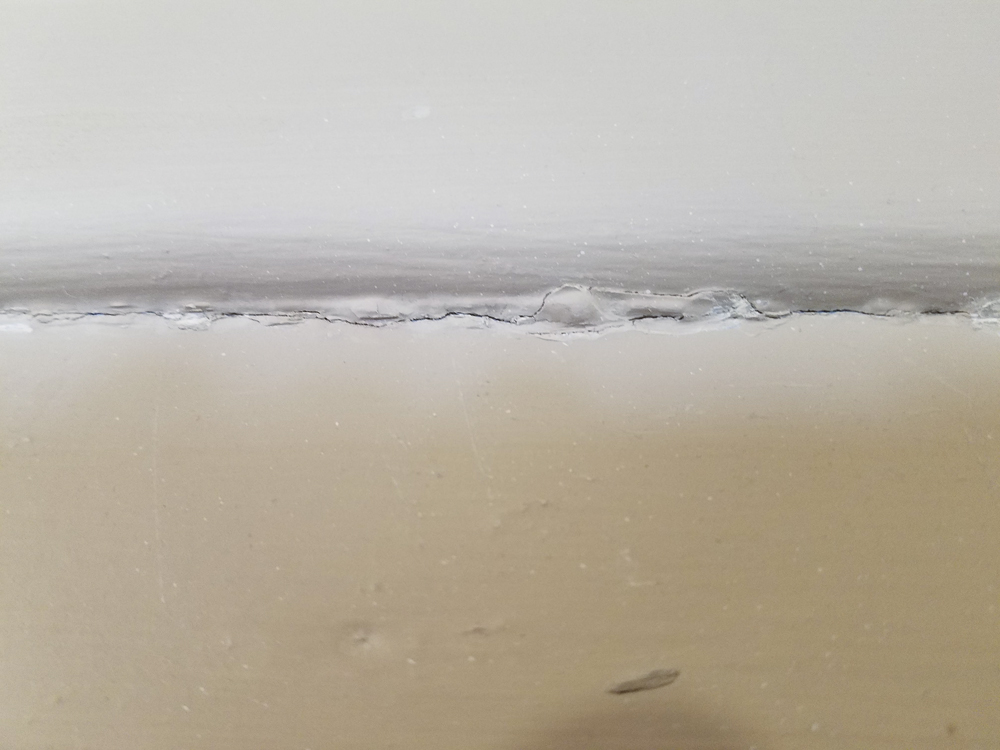
Here’s a shot of the same area after clean up. Since there is a high probability that I am going to flip this house and not rent it, I am paying more attention to small details like this. For a rental flip, I would have just slapped a coat of paint on it as the last person did. Well maybe with a little more care than the previous person.

Painting is proceeding along. The color palette for this room is Sherwin-Williams Downing Slate SW2819, and the trim will be Sherwin-Williams Olympus White HGSW1447.
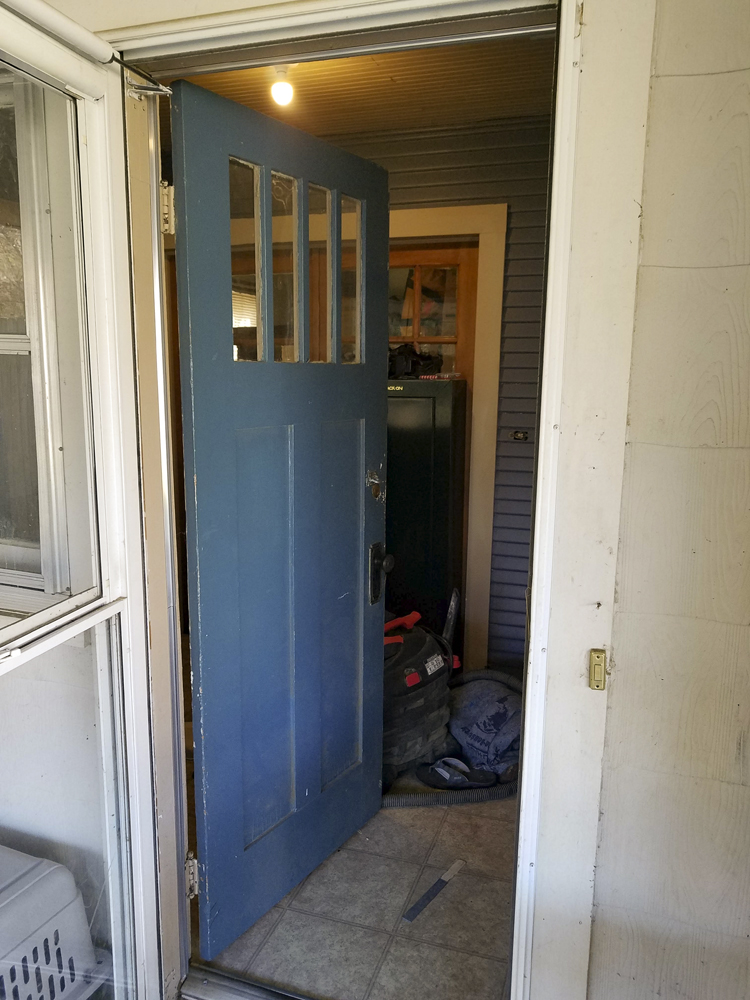
Before moving forward with anything else in the interior of this space, I need to deal with the entry door, and it’s in bad shape. It has had many locks installed and destroyed, and the frame is deteriorating. At first, I was going to replace only the door and repair the framing, but after closer inspection, it is going to have to come out frame and all.
As the trim and frame removal gets underway, it uncovers just how deteriorated it is. There is also some weirdness where the frame hits the floor, and I have a feeling getting the pre-fabbed door and frame I purchased to fit is going to be an ordeal.
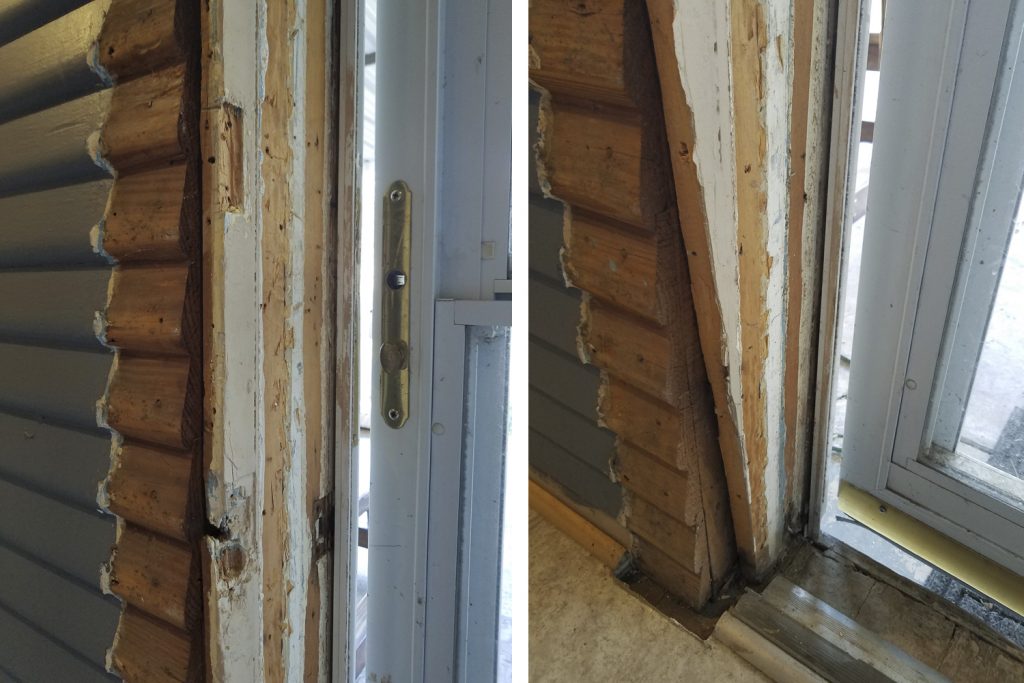
With the broken screen door and entry door removed, I have started to demo the exterior trim and the lower portion of the door frame, and my fears were confirmed. What I thought was the original subfloor in this room is not. The floor has been built up with plywood. When they did this, they also modified the door frame and trimmed some of the bottom of the door to allow it to open with the new height of the floor. It’s going to take some creativity to make this work.
The first thing I have to do is remove all the exterior trim which will require taking off some of the adjacent window trim inside and out as well as the storm window which needs to be done anyway to re-glaze the window pane. I’ll have to remove the entire frame as well to get the length and height required at the bottom for the new frame to slide in; I had to remove some of the plywood and original subfloor to get the required 4 1/2 inches for the new frame.

Now this will still not allow the door to open due to the additional plywood that was laid down. I am going to have to remove some of it and may end up taking out all of it and just reflooring over the actual subfloor. The problem is you never know what you will find under there I do have a couple of ideas to deal with it though.
With the trim replaced and the lower portion reinforced to the proper height its time to cut away some of the plywood so the door will function properly and to get a look at what I’m dealing with regarding the subflooring.
With a Rockwell Vesrasaw, I cut away a section of the plywood on the floor in front of the door and to my surprise, it was laid down on top of more flooring. Shortcuts people take tend to make my life difficult. I’m guessing this was done to make putting down cheap vinyl flooring easier although something could be lurking beneath the plywood and I haven’t decided if I’m going to tear it all out yet.
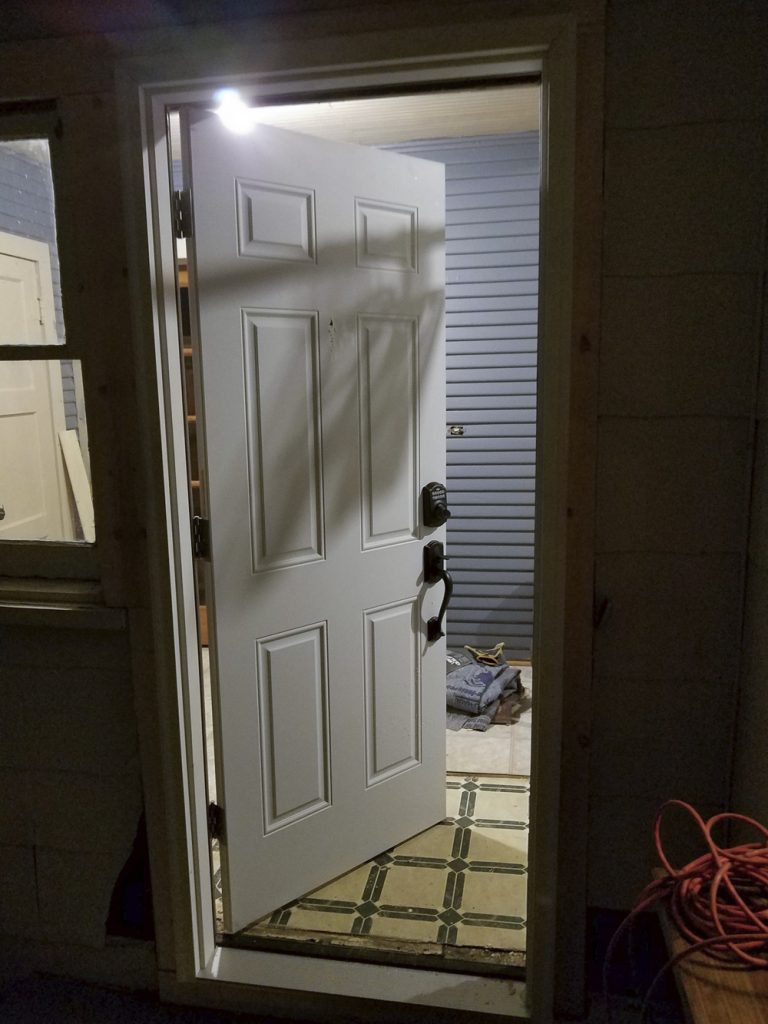
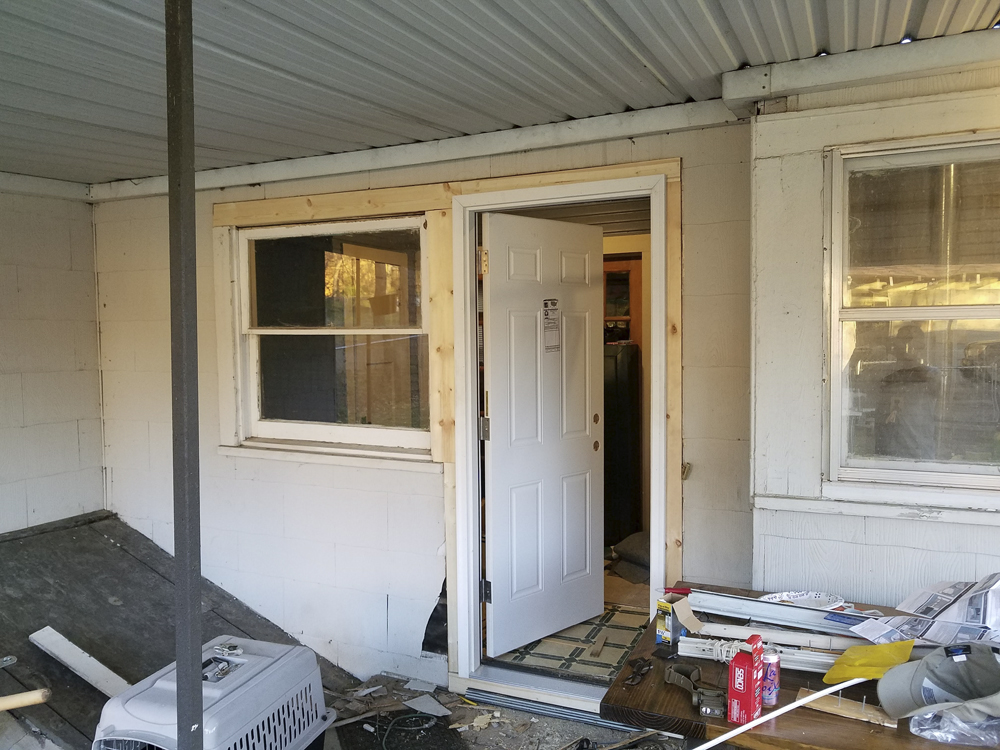
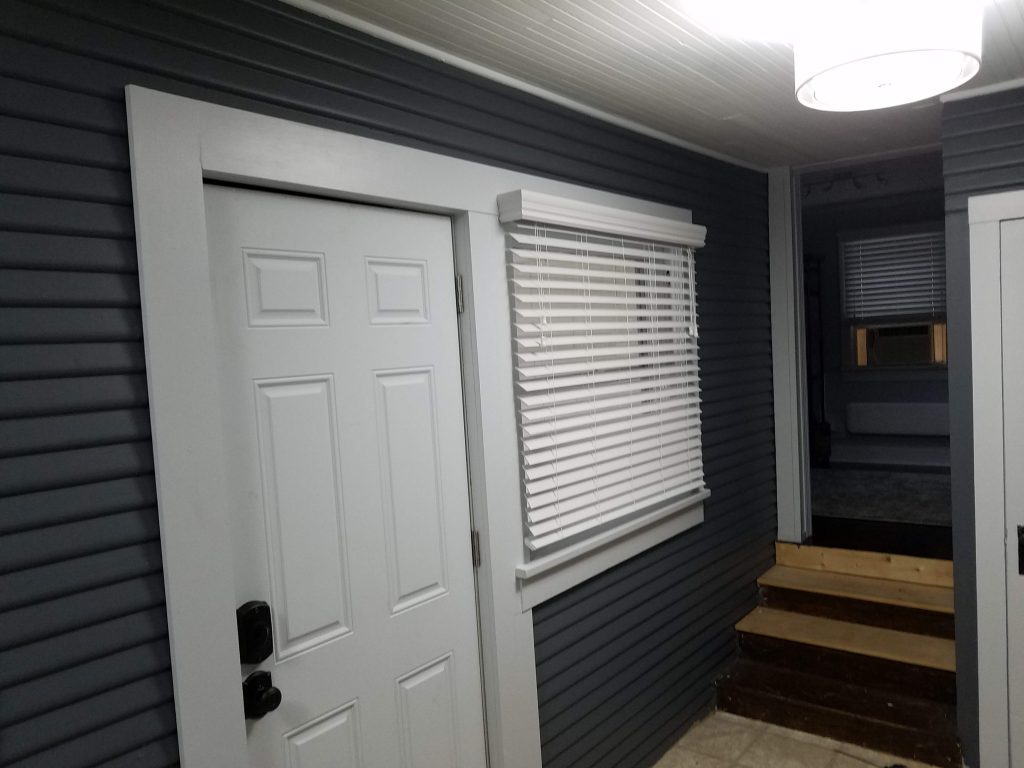
All done with a keyless deadbolt installed. I will need to caulk all the seams around the new boards when it warms up tomorrow and then on to replacing and repairing the interior door and window trim.
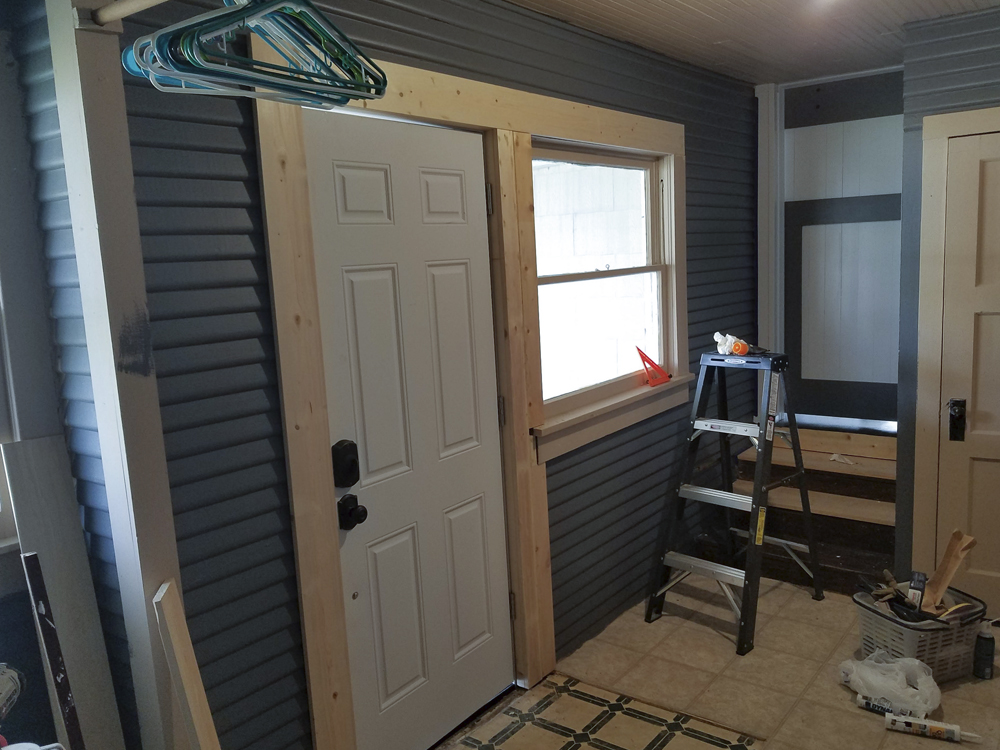
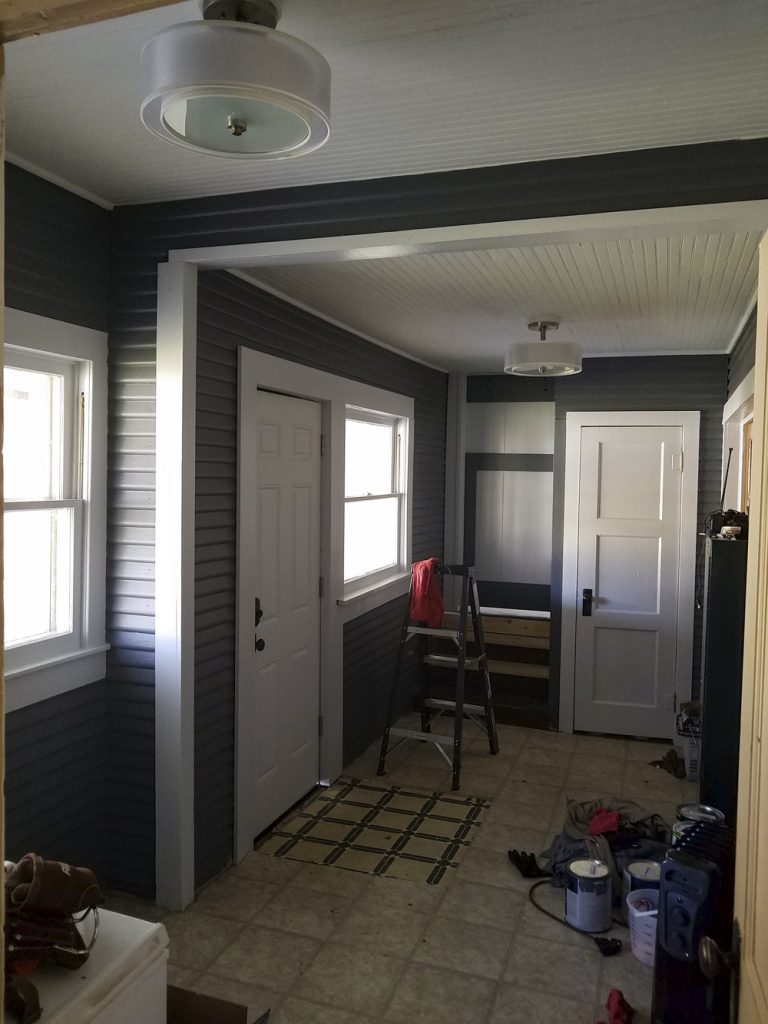
After another long day, I finished the interior trim work and calked all the seams on all the new board sections. I also installed one of the new ceiling lights. Redoing the trim was almost as painful as installing the door frame. It was a jigsaw puzzle and still leaves an unknown of how I am going to proceed with the flooring.
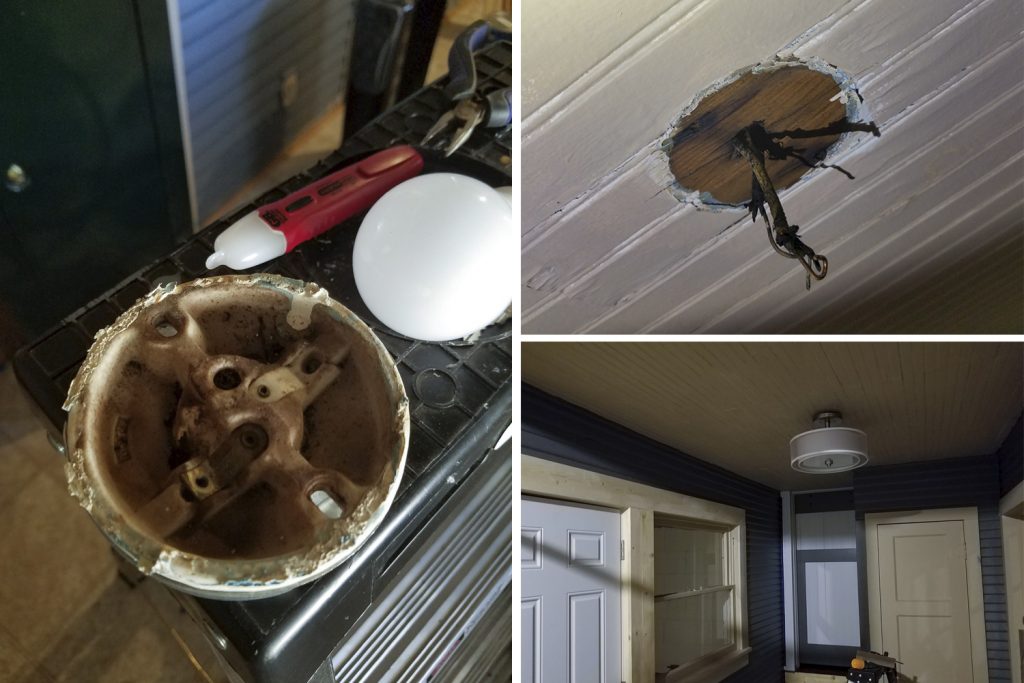
One of the things I am finding is there was zero adherence to electrical code when the addition was built as there are no junction boxes for any of light fixtures and some of the light switches as well. The wires are pulled through a 3/4 inch hole drilled through the ceiling material. The first bulb fixture I removed the wiring attachments crumbled as I unscrewed it (I need to purchase a couple of more fire extinguishers). To correct this problem, I am installing 3/4 inch external junction boxes and using light fixtures with bases that extend out past the edges to help hide them.
Painting, painting and more painting.

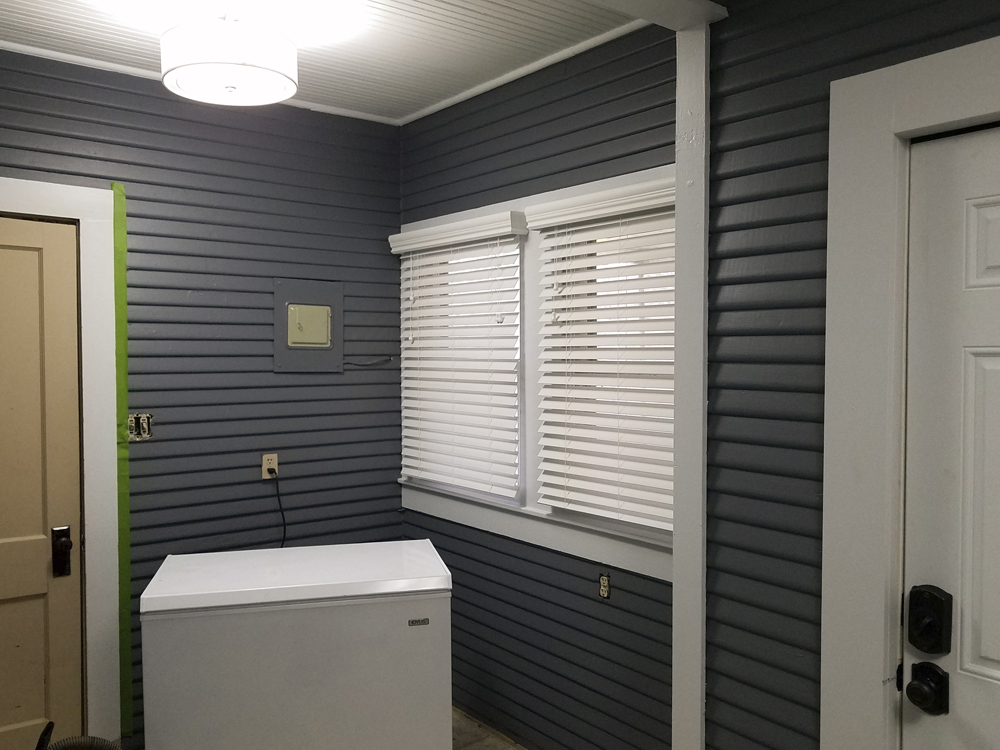
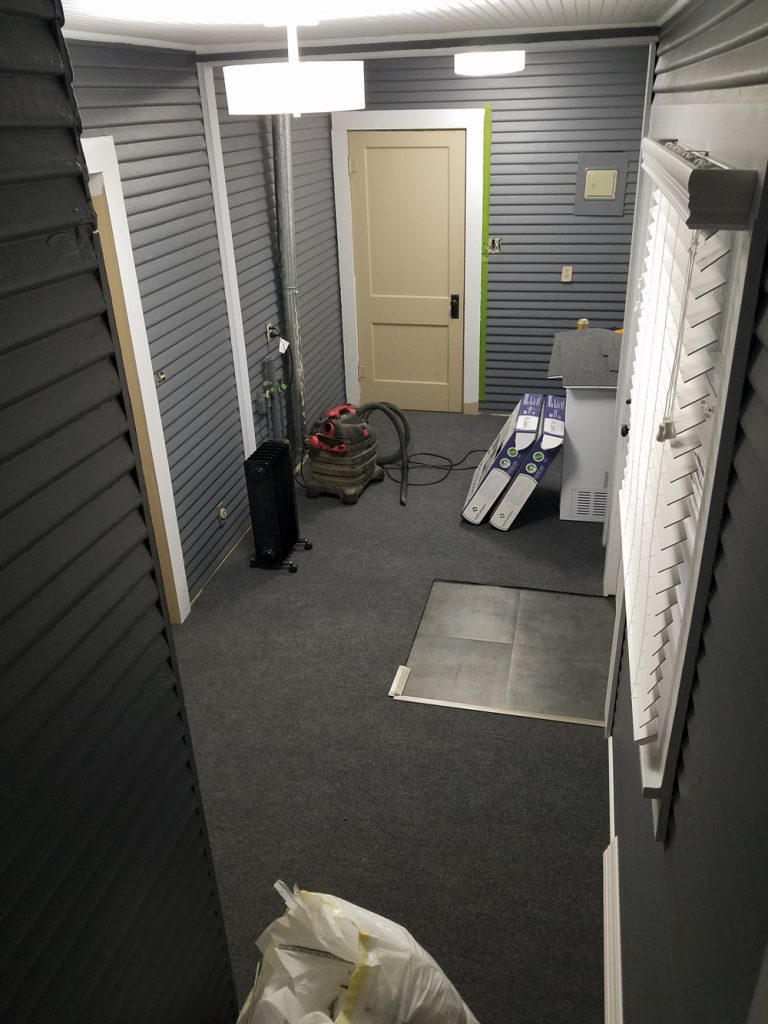
Painting complete except for some small touch up. I did end up going with different junction boxes for the lights. I didn’t like the stability of the small metal ones. I used round plastic exterior siding ones that work better with the fixtures. Time to do some work on the utility closet and then on to the flooring.
Completed the install of the new blinds. Most of the windows in the house are non-standard sizes requiring custom cut blinds. After lots of searching, I found the pricing on faux wood 2-inch blinds to vary in price quite a bit with most in the upper price range. I came across Award Blinds which almost always has a sale going on with discounts between 35% – 50% off. The three custom sized blinds for this room were less than $100.00 with tax and shipping.
As I work on the flooring, the colors are not what I wanted, but the cost and availability lead the decision. To take care of the cut out in front of the door I went with another layer of vinyl and decided on low pile industrial carpet tiles with transitions to manage the height differences. Should work out well.
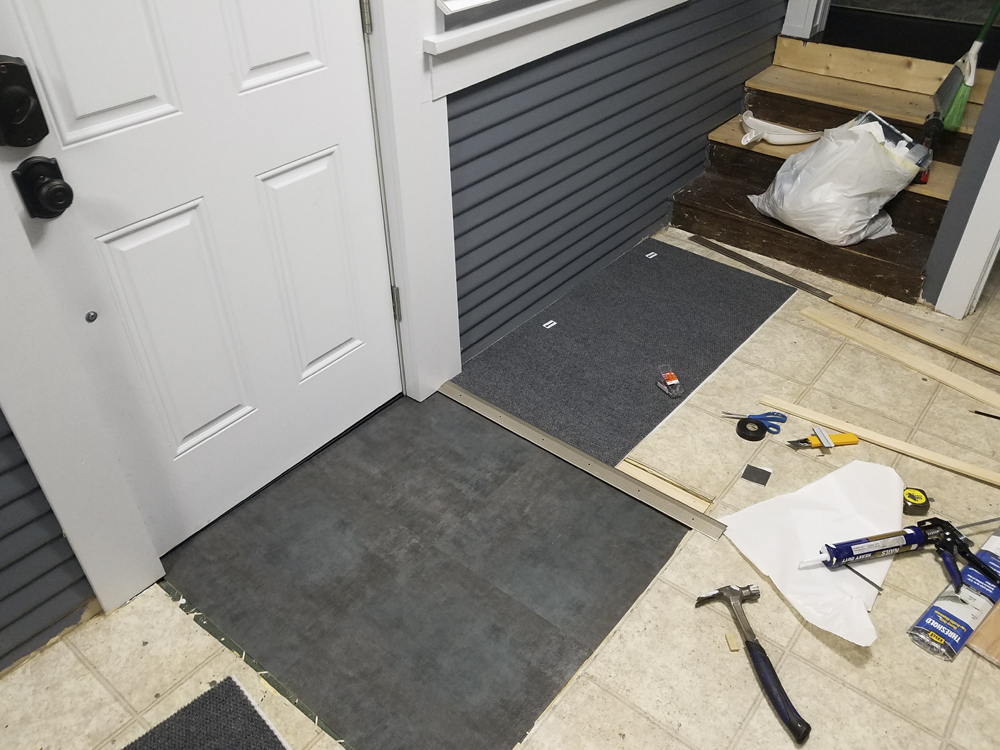
With the flooring completed the next obstacles to tackle are deciding on a based board trim, finishing out the stairs and doing some final paintwork. I have started to work up some designs for the washer/dryer cabinet as well.
Working on the doors and floor trim.
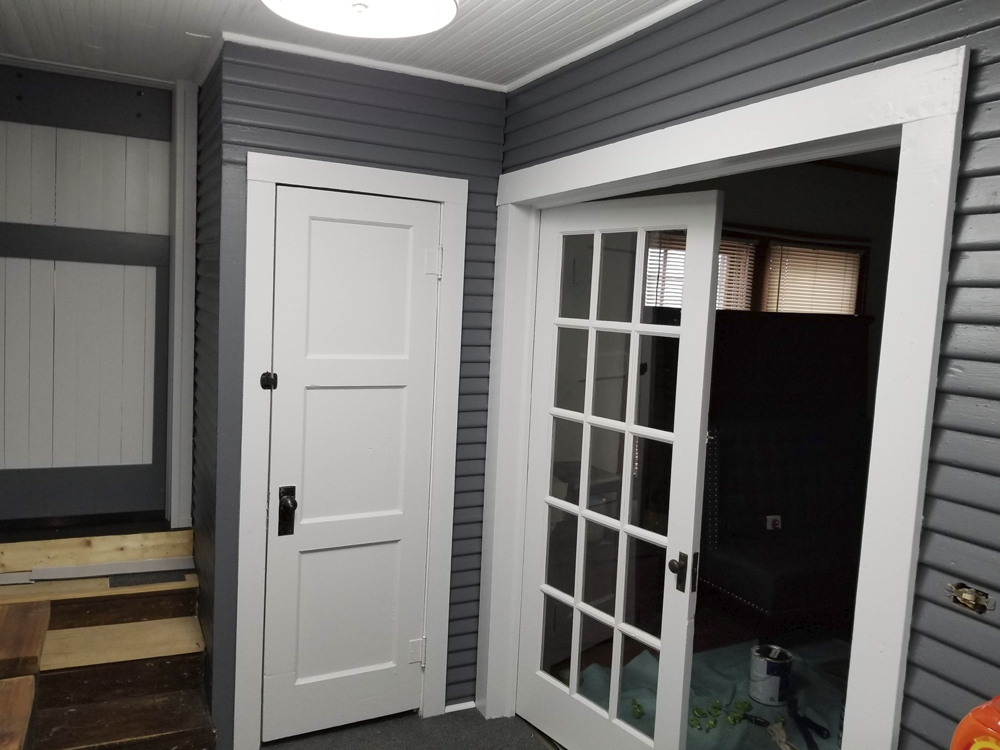
All complete except for the stairs and carpet to tile transitions. Although I drew up some plans for custom shelves and cabinets to go behind the washer and dryer, in the end, I just went with some simple shelves. The cost and time associated with the project didn’t make sense.

Finally got around to finishing out the stairs and completing the entry carpet to tile transitions.

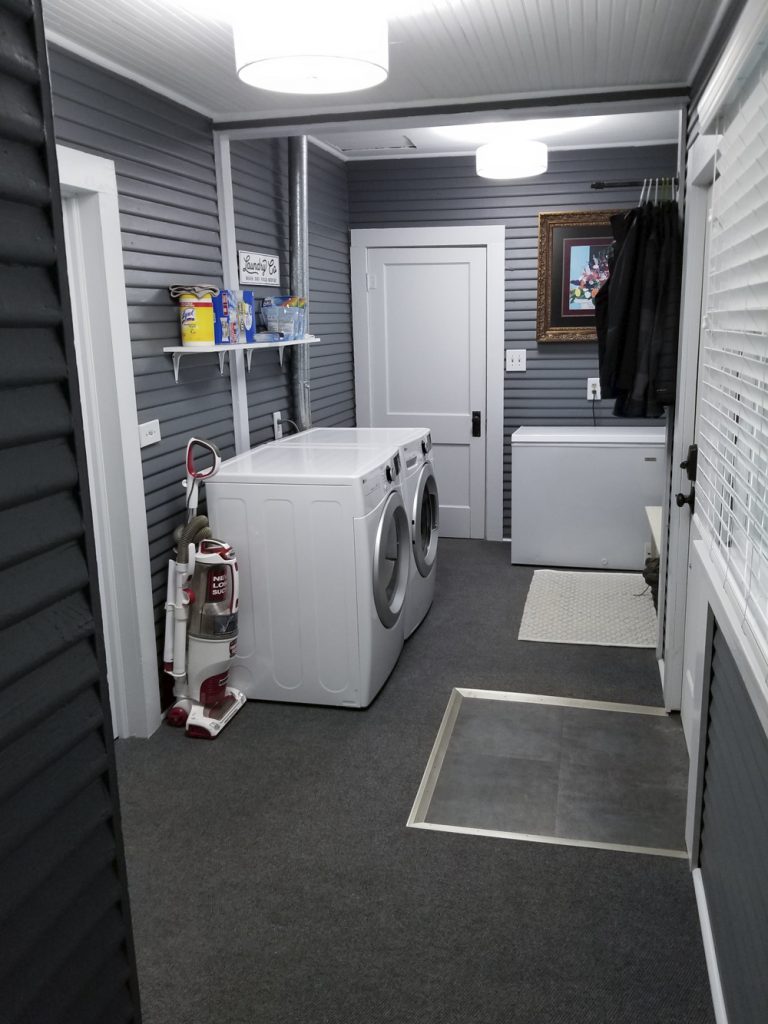
Had to swap out the Washer and Dryer. I have had really good luck with Samsung appliances but the lower end washer and dryer both died in the first couple of months so for about the same price when I returned them I picked up a front load LG Smart set. We will see how they work out.
On to the Kitchen Remodel which can be found here.